Tuesday 21 October 2014

Halloween Nails

I thought I'll make my contribution this year for Halloween to the nail art community. This is actually the second one I made. The other one was a Psychedelic Skull. (Read blog or view YouTube video tutorial Here.)
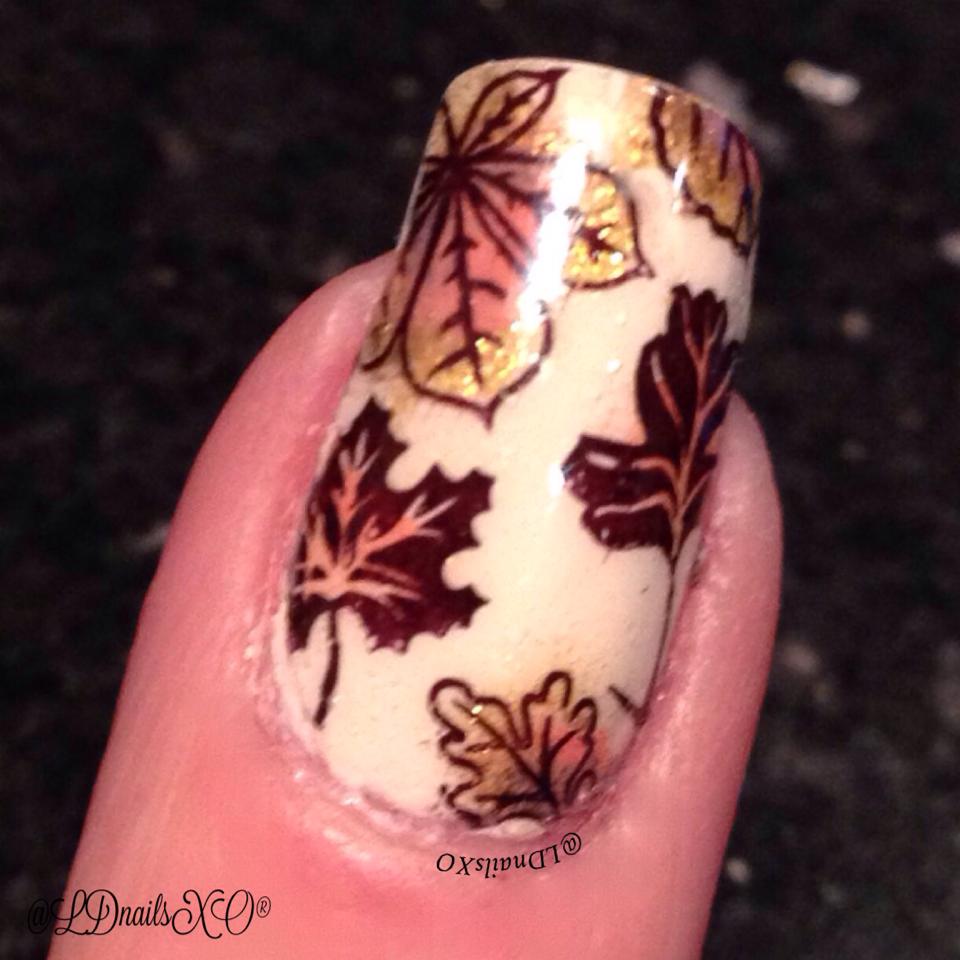
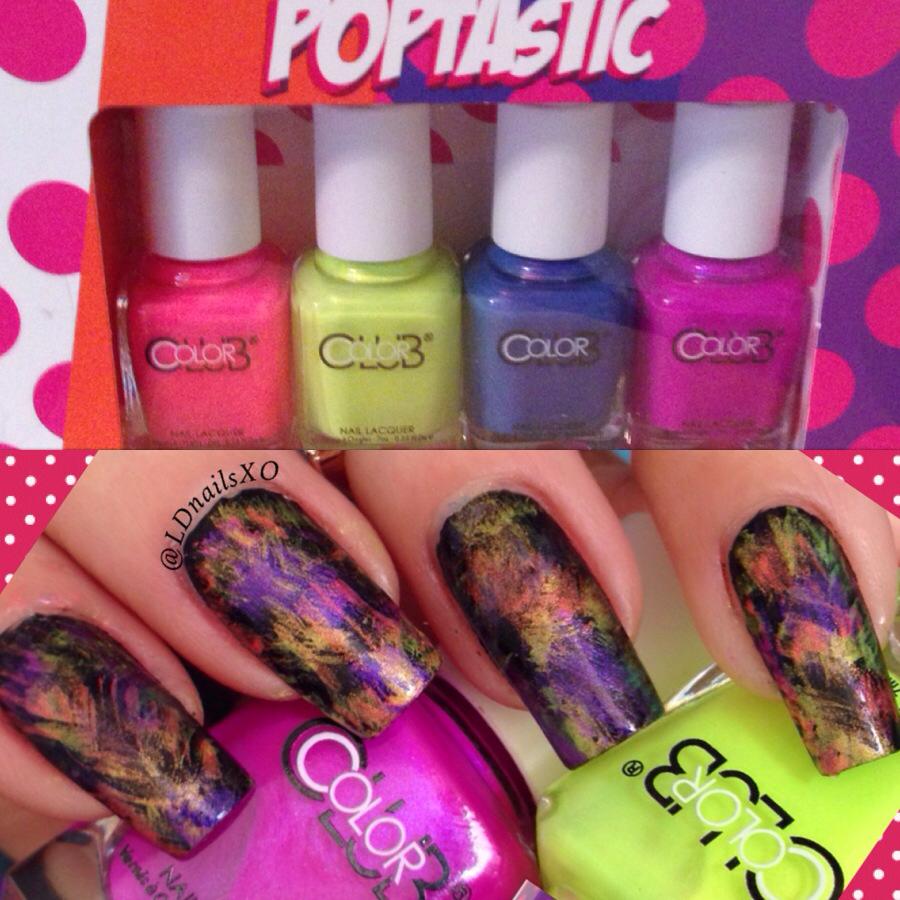
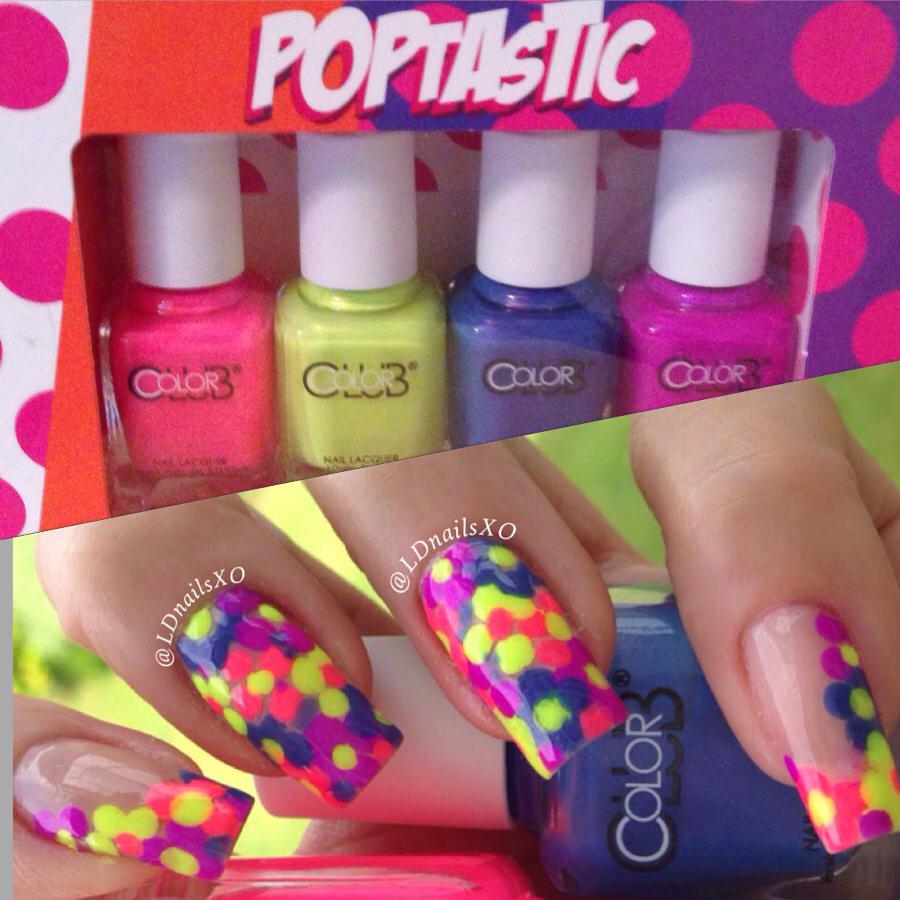
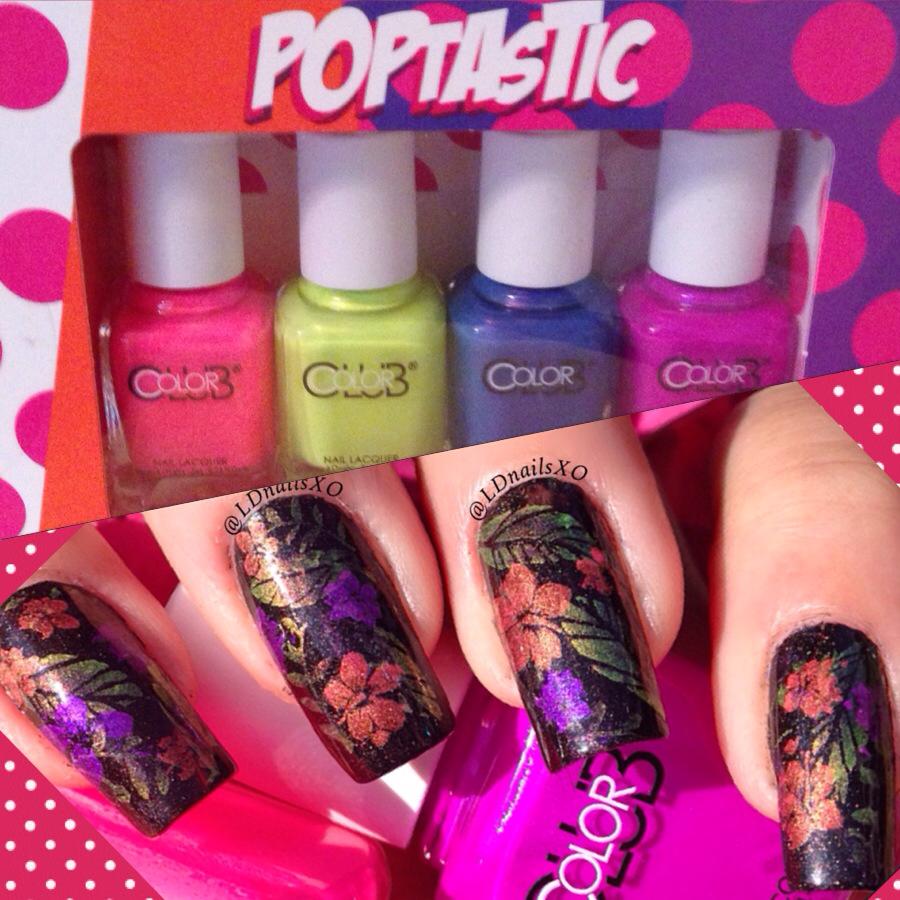
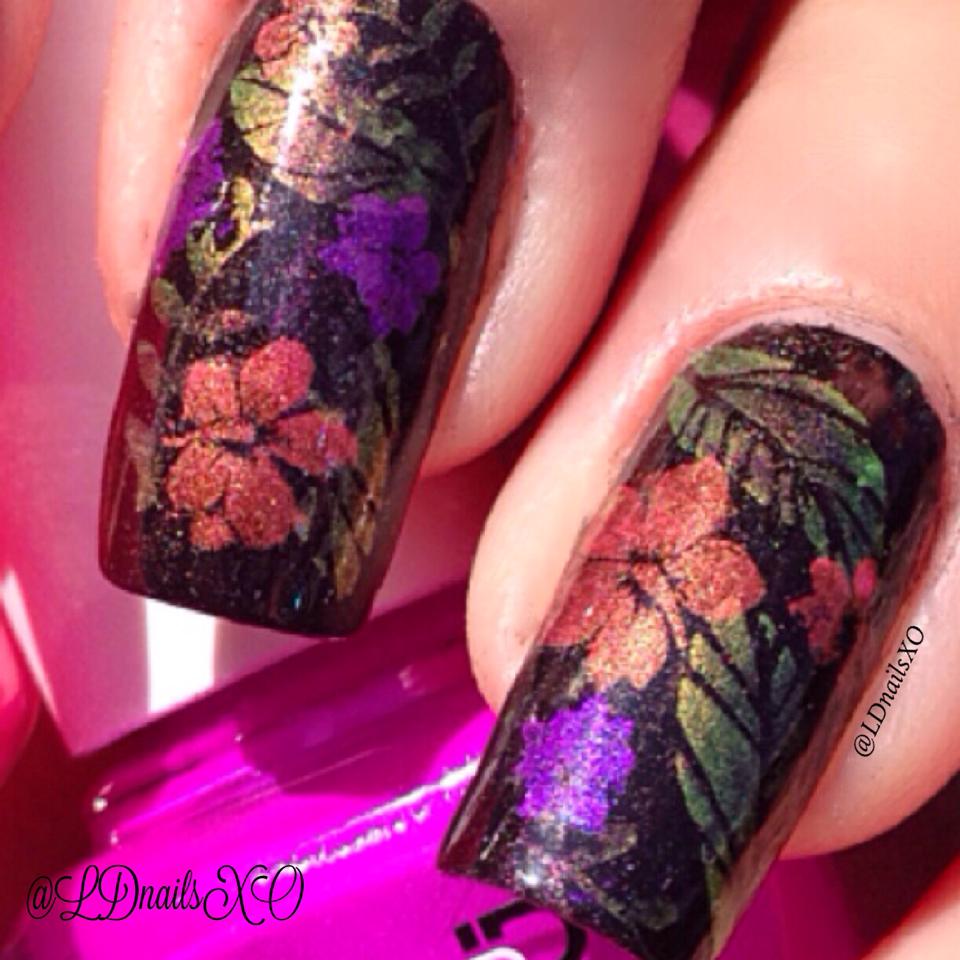
I've been trying to put this blog together, for about a week now, and it's not easy with very busy schedule at present. So, apologies for the delay.


Spooky Nail Designs halloween Let me go through with these design and products used one nail at a time. All nails are applied first with Alpine Snow by OPI as a base colour. And please note: - Let each coat of varnish dry before each application.


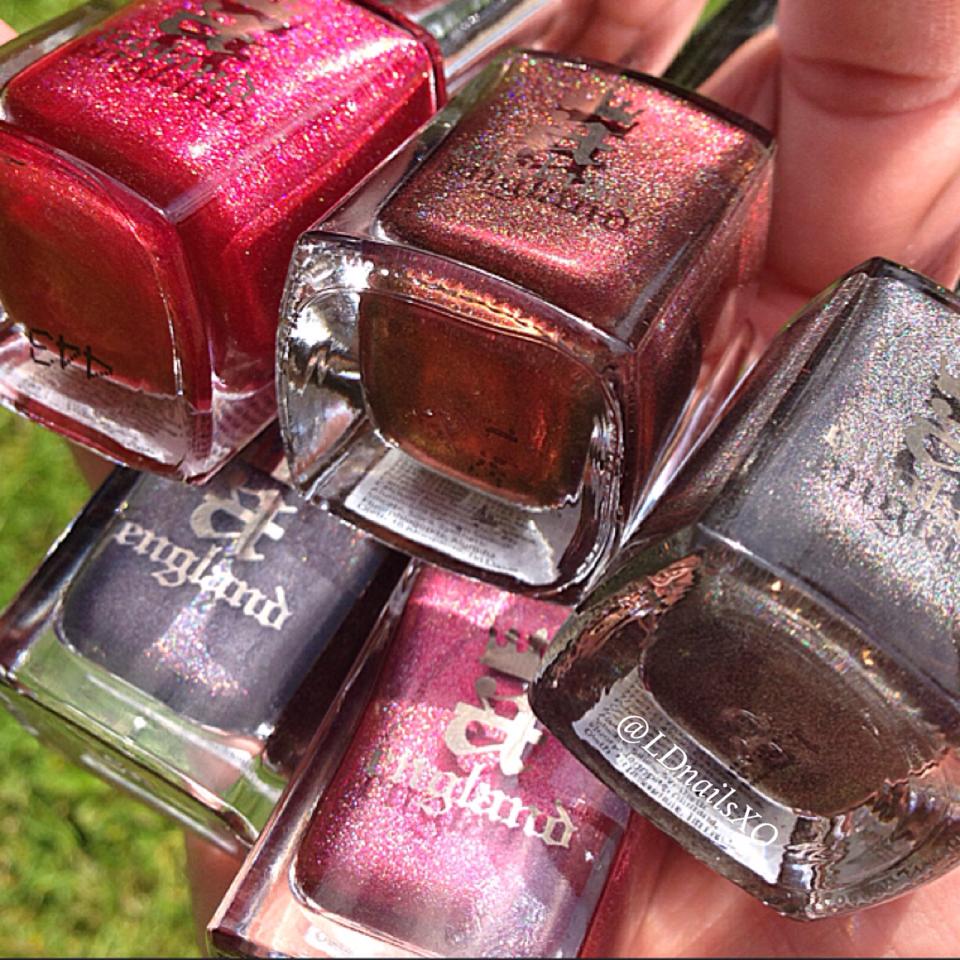
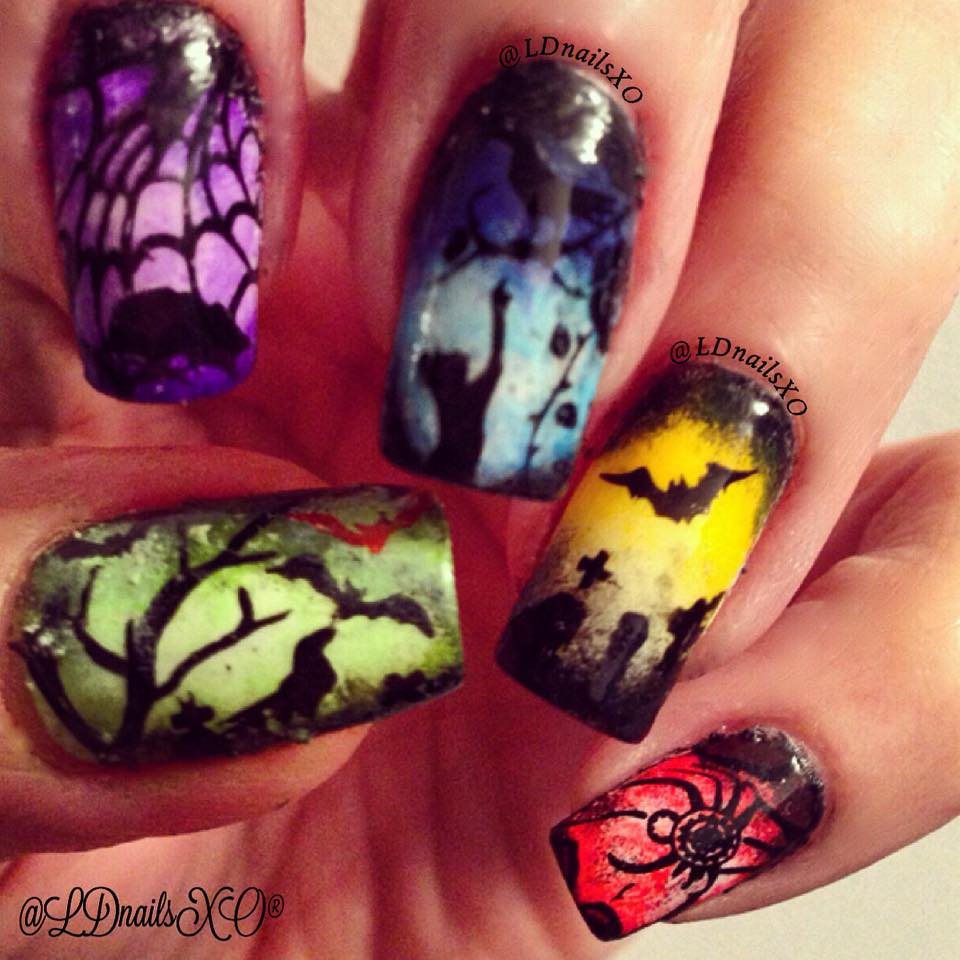
Thumb Nail - First let the white base dry. Then start the gradient by sponging Vices Versa (from the Neon 2014 collection range.) (Get it here.) by essie all over the nail, then randomly sponge the Screen Green (7-Yahoo) by Color Club - concentrating on the top and bottom side of the nail. Afterwards sponge Bridal Veil by A-England (Get it here.) at the top, close to the cuticle. Sponge lightly as you're going down away from the cuticle. Top coat it with Seche Vite. Let it dry, and stamp it with Mother Nature - 07 (Get it here.) for the tree trunks. Gothic - 07 for the bats and black bird. And for the crosses underneath the tree, I used Artist - 11 (Get it here.). All plates are by Moyou-London. Using Camelot by A-England (Get it here.) nail varnish for stamping. Then seal it again with Seche Vite.

Index Finger Nail - Now that we stablished the base colour. Let me begin with the first colour of the gradient. Sponge all over randomly the Sittin' Pretty (Get it here.) which again is part of the Neon 2014 collection by essie. Followed by Yahoo Purple (7-Yahoo) by Color Club - concentrating at the top and tip of the nail. Repeat procedure with the thumb for Bridal Veil by A-England, then top coat it with Seche Vite. Dry and stamp with Gothic - 07 by Moyou-London, using the web pattern and the black rat at the tip of the nail. Finished with another coat of Seche Vite.

Middle Finger Nail - I used I'm Addicted (Get it here.) and Chills And Thrills (Get it here.) for the gradient - both nail varnish are from the Neon 2014 collection by essie. Follow the same procedure as above for creating the spooky gradient, then stamp with Gothic - 07 plate by Moyou-London - using the pattern of the cat riching for the black bird. Now, you can do this in two ways. You can just stamp it straight onto your nail or create a decal, by applying a clear nail varnish all over the pattern on the stamper (Get it here.). Refer to my YouTube tutorials on how to create nail decal here. And as always finish with Seche Vite.

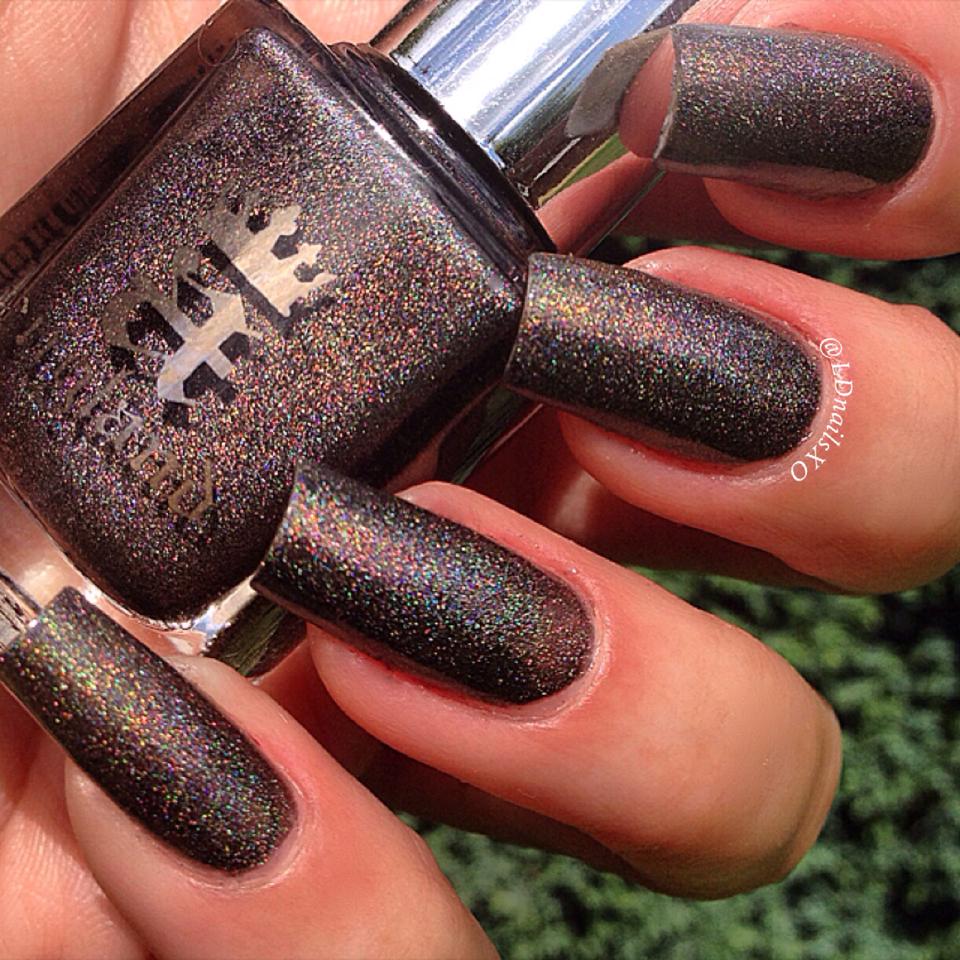
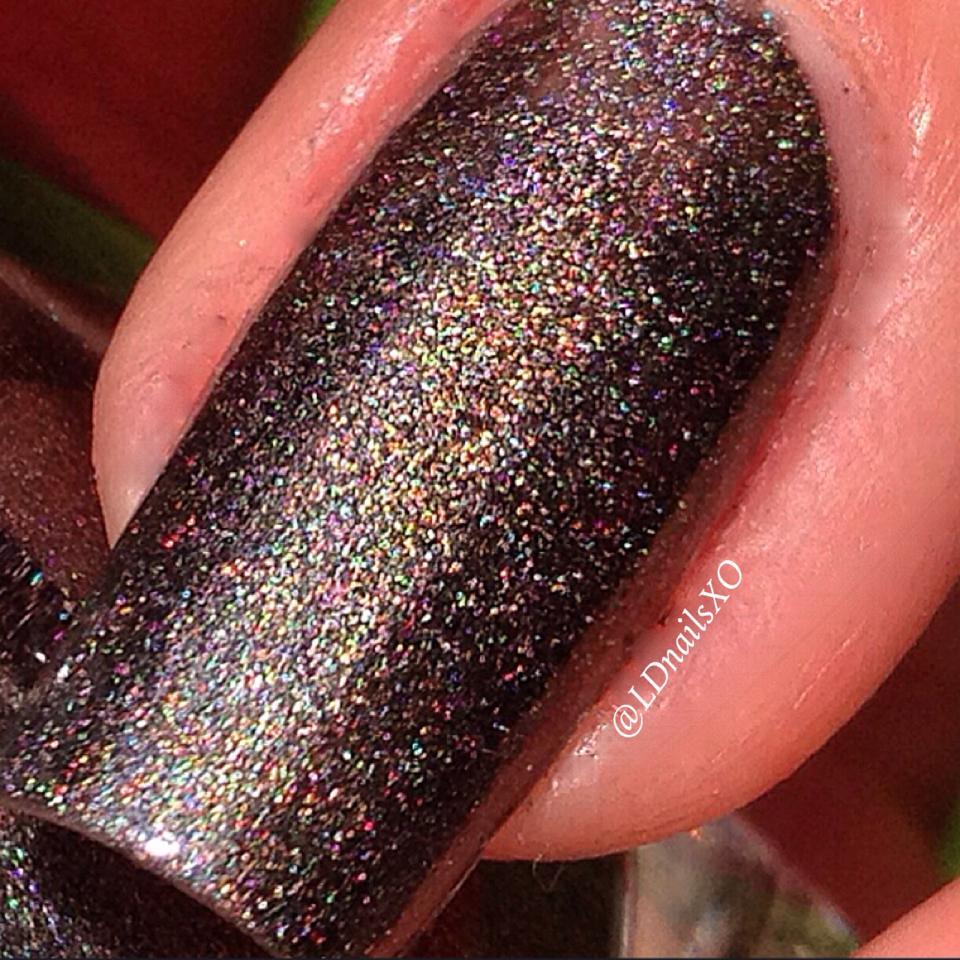
Ring Finger Nail - Nail varnishes for gradient are Psychedelic Scene by Color Club, Buttercup by Revlon and Bridal Veil (here.) by A-England. Stamped with Gothic - 07 (Get it here.) by Moyou-London, using Camelot by A-England nail varnish for stamping. The design at the bottom part of the nail was hand painted with Camelot by A-England. And for the crosses, I used Artist - 11 plate  (Get it here.) by Moyou-London. Finished off with Seche Vite. Watch my video tutorial below.


Little Finger Nail - I only used two colours for this nail to do the gradient. Tech Red (7-Yahoo) by Color Club and Bridal Veil by A-England. Gothic - 07 plate for the spider by Moyou-London. And Camelot by A-England nail varnish for stamping. Procedures are the same as the other nails above. Except I left a bit of the base colour showing on the middle area of the nail, before stamping it with the spider, using Camelot by A-England nail varnish for stamping. Finished with Seche Vite.


Friday 3 October 2014

Abstract Nail Designt


Stamping and Abstract Abstract I'm loving the contrast of this abstract mani. It's so attractive in real life. I just love it when I experiment with colours and it works coherently. As per usual, I start off with base coat. On this occasion I used First Base by essie, And for the black base colour, it's the OPI - 4 In The Morning from their Gwen Stefani Collection. The silver varnish I used for the stamping was also from Gwen Stefani Collection by OPI, which is called Push And Shove. Stamping plate was the Gothic Collection XL - 03, which is part of Moyou-London new range that they released last week. The striping tape was from Ebay. And the red nail varnish was Posh/Mat by Zoya. Finished off with Seche Vite
Below is my YouTube video tutorial on how to create this mani. Thank you for visiting my blog. xo


Tuesday 30 September 2014

Fall nail Art Stamping Decal


Autumn Leaves Advanced Stamping Autumn Nails
I have been wanting to do autumn leaves nail art since last year, when I first started showing interest of sharing my own creations via Instagram, but I haven't got the plate. So, when Moyou-London released this plate, as part of their Mother Nature Collection sometimes this year, I grabbed my wallet and head off to their website. (Click Here.)
Start of with base coat, I used essie - First Base. Followed by OPI - My Vampire Is Buff as the base colour. Stamping Plate was Mother Nature - 07 by Moyou-London. Stamping nail polish or nail varnish was Lancelot by A-England. For sponging the stamped leaves, I used Tart Deco by essie, mix lightly with Briar Wood (Read review here) by A-England and Holy Grail (Limited Edition) by A-England. (Website Here.), but before sponging make sure you applied clear varnish on the pattern, on your stamper. Then I top coated it once again with Seche Vite, when everything done. Below is my video turorial via YouTube. Yes, my very first YouTube video. So, any comments, thumbs up or even subscribe from you guys, if you wish, will be greatfully appreciated. Thank you! xo


Closer Shot autumn leaves On this photo, you can see the mythical prismatic effect of Holy Grail by A-England nail varnish. Click here to buy this from their website. Click here if you are outside the UK. Thanks for visiting! xo


Friday 26 September 2014

Moyou - London ~ Fashionista XL - 14


Stamping and Colour Blocking Technic CB For this particular design I chose to go for a black base. I used Camelot by A-England and I also used it for stamping the pattern. The rest of the nail varnishes I used are My Vampire Is Buff by OPI, Age Of Aquarius by Color Club, Posh/Mat by Zoya and Holy Grail by A-England. And for the top coat, I used Seche Vite. Stamping Plate is by Moyou-London Fashionista Collection - 14. You will need striping tape and sellotape. Make sure you remove the stickiness of the sellotape before using it as a divider, by just playing it with your fingers, as it could lift the stamping off on the coloured block you already have done. Below is a short video tutorial, just so you see the quick step by step process.


cb1 Colour blocking can take a bit of your time. So, don't tempt it, if you haven't got the time. Some nail varnishes takes longer to dry than others, but I find applying quick drying top coat, like Seche Vite - helps quickened the process, before stamping.

Wednesday 6 August 2014

A-England - The Legend - Saint George


Saint George @ae0


Saint George @ae1


Saint George @ae Saint George is one of the seventh nail varnishes in The Legend Collection of a-england. This is a very rich teal-green hue shade, with a light glow of prismatic particles, which is stunning when hit by the natural light. The formula is superb, very rich, but very smooth to apply. Impressive opacity - opaque on one coat. Gorgeous glossy finish, but even so with a top coat. Shown in one coat, plus top coat.


Saint George - Colour Inspiration @ae2 All Photos are taken in natural light. The first hand shot photo above, did not really give it any justice, but you can see the beautiful prismatic effect on the bottle of the nail varnish.


Peacock Feather Inspired @ae3 To achieved a very close look to a peacock feather, I used five kinds of a-england nail varnishes. First, I used Princess Sabra as a base coat. I then applied Saint George and Holy Grail (Limited Edition) randomly onto a Moyou-London, Tropical plate - 01. I painted the inside circle of the feather with Fated Prince (read review here.), Tristam and Galahad. And finished it off with Seche Vite. Next time, I will try and perfect the inside pattern of the feather. It was a bit dark the weather, when I did this, and this was the best I could do it without ruining my eyesight. I will also do the review for Princess Sabra, Holy Grail, Tristam and Galahad here soon.


You can purchase Saint George in a-england website here. And if you are living outside the UK, you can check their worldwide Distributor here. You can email directly the most kind and beautiful founder and creator of a-england Adina at hello@a-england.co.uk or contact her through their website here.

Thank you for reading my blog. xo

Wednesday 23 July 2014

A-England Ballerina Collection


Ballerina Collection ae


Ballerina Collection ae6 It always fascinates me, how the amazing founder and creator Adina Bodina, manages to put together a captivating innovativeness, for each of her collection. The Ballerina is another bewitching read of what thoughts put behind each of the flawless formulas. The four beautiful elegant shades are all inspired by the most unique classical ballerinas dance of all time. The four shades are just oozing with class, opulence, luxury, and very elegant indeed. All my photo shots below are taken in natural sunlight.


Fonteyn ae2


Fonteyn ae0


Fonteyn ae1 Fonteyn is a very soft lilac tinted holographic silver hue with a fabulous scattered but dense chromatic display. The formula is superb, opaque on one coat - rich but very easy to apply and self levelling. It can easily be a one coater. Glossy finish and perfect with or without top coat. Shown in two light coats with no top coat.


Fonteyn - Colour Inspiration aef


Her Rose Adagio ae5


Her Rose Adagio ae4


Her Rose Adagio ae3 Her Rose Adagio is a gentle pink with even scattered but vivid holographic hue. Fantastic flow and slightly lighter formula than Fonteyn but it can still be a one coater. It was very easy to apply and self-levelling. Glossy smooth finish which make them gorgeous with or without top coat. Shown in two light coats with no top coat.


Her Rose Adagio - Colour Inspiration aehra


Encore Margot ae7


Encore Margot ae8


Encore Margot ae9 Encore Margot a very pale-blue toned silver holographic hue with gorgeous scattered, but linear, prismatic effect. Great formula, the consistency was good, very similar to Her Rose Adagio. Again Glossy finish, very easy to apply and also self levelling, and just like Fonteyn - it was opaque on one coat. Shown in two light coats with no top coat.


Encore Margot - Colour Inspiration aeem


Dancing With Nureyev ae12


Dancing With Nureyev ae11


Dancing With Nureyev ae10 Dancing With Nureyev a lilac - blue toned holographic hue. Although on camera - even taken on full sun, it seems to have turned out much darker toned, than it was on actual life itself. You just have to take my word on this, it's match lighter - its more lilac-blue rather than purple-blue. I will say, if you look at Encore Margot, imagine it one shade darker than the actual shot posted. I'm afraid, it's the only way I could think off of discriving it. The consistency is very much like Fonteyn. Brilliant prismatic display, as per usual in this collection, especially when hit by the sunlight. Glossy smooth finish, and again lovely with or without the top coat. Shown in two light coats with no top coat.


Dancing With Nureyev - Colour Inspiration aedwn


I've been wanting to do this review for sometime now, but the Dancing With Nureyev was out of stock for quite a while. And I really like to do the complete collection. Buy the Ballerina Collection here or check out their website here to find out where to buy worldwide. Also the Encore Margot is their Gem Of The Month. Pay only £6 for the month of July.

Monday 14 July 2014

A-England Briar Wood and Her Rose Adagio Stamping Manicure


aeng8 This nail design is very simple and very elegant. A-England Briar Wood (read the review here.) and Her Rose Adagio (Read review here.) are both have superb holographic particle display. Perfect colour combination if you ask me? The index and little fingers are painted with just one coat of Briar Wood, tips are painted with Her Rose Adagio, and placed with a clear triangle rhinesstones studs by Moyou London, which comes in multi-colour pack, just to give it a more dressy look. Now, the middle and ring finger, I painted with two light coats of Her Rose Adagio, I let it dry and sponged the middle area with Briar Wood. Let it dry again and stamped it with Pueen plate - 52 from the Buffet Collection, using Her Rose Adagio nail varnish. Finish off with Seche Vite as my per usual. I just love the mysterious colour finish effect. Don't you?

Thank you for reading my blog! xo

Sunday 13 July 2014

A-England Rose Bower and Camelot Lace Manicure

aeng7 Just a quick blog. One coat base OPI Lay Down That Base. Then applied one coat of a-england Rose Bower, (Read review here). When dry, I stamped it with the Bridal Collection - Plate - 07 - XL by Moyou London, using a-england Camelot nail varnish. And for a more interesting look, I applied it also at the tip of the nails. The black flower stud on the index and little finger nails is also from Moyou London. Finish it off with Seche Vite.

Saturday 12 July 2014

A-England Fonteyn and Briar Rose Fishnet Manicure

aeng When doing taping nail art, I like to do my nails one nail at a time, and move very quickly at removing the tapes after applying the top colour. I have more success this way as I don't get the nail varnish bleeding through the tapes. Also, I cut the tapes shorter after I placed them correctly on my nails - I just find it easier and more steady to work with. I started with my usual base coat routine to protect my nails from discolouration mainly. I then applied one coat of Fonteyn (Read my review here.), then let it dry up completely before creating the diamond pattern, as the tape could lift the varnish off. Applied Briar Rose generously on top of the tapes and lift tape one at a time. The trick was to remember how you laid the tapes from the beginning to end, to avoid messing the pattern when you start lifting. And as per routine, I finished off with Seche Vite.

Read review for Briar Rose here.

Tuesday 1 July 2014

A-England Lady Of The Lake


aeng6

What can I say about this nail varnish?. Well, it's fabulous, it's holographic, it's flawless, it's classy and it's purple - everything a girl could possibly ask for. And as per usual with a-england nail varnish, the formula of Lady Of The Lake is excellent. Two coats and it's completely opaque. A little rich, but still very easy to work with and self levelling. The fine chromatic particles demonstrate beautifully, when light hits them. Shown in 2 coats, plus top coat.

Holographic Abstract aeng5 Night shot. The colour was deeper, but the attractive chromatic particles are still dancing with the lights.

This design is a holo party. I used three a-england nail varnishes - Lady Of The Lake, Princess Tears and Fonteyn. Fonteyn is part of their Ballerina Collection. I will do a review for this collection here also. Please visit my instagram "ldnailsxo" for more nail art. Thanks! xo

Wednesday 25 June 2014

Color Club Poptastic 2014


Fun Brush Technic cc When I first set eyes on these nail varnishes, I didn't think I'd like them, but they are actually superb. Here is my first experiment, and I'm so please how they turned out - so I'm sharing them with you all. Started off with the one coat of black nail varnish as a base. Let it dry, I then randomly fan brushed the four colours one at a time. From left, Peace Love & Polish, Not So Mellow Yellow, Bell Bottom Babe and Right On. And as always, I top coated with Seche Vite to finish the look.

Fun Brush Technic cc1

Floral Neon poptastic This one is very simple and very easy. All you need is a dotting tool and the Poptastic Collection. Nothing can be more simple than that, right?

Floral Neon poptastic0 Applied one coat of clear nail varnish. Then with your dotting tool create little flowers alternating the colours. When you're happy with your flowers, top coat it. Now, I sometimes like to double my top coat. And dotting design is one of them, because it gives it a more fine smooth finish.

Tropical - Individual Satmping cc4 I'm very pleased how this design turned out. It's almost three - dimensional to look at.

Tropical cc3

Tropical cc2 After applying and allowing to dry the essie Base Coat, I applied one coat of a-england Bridal Veil. Once dry, I begun by stamping the leaves on different directions, by using the two colour together of the Color Club Poptastic - Not So Mellow Yellow and Bell Bottom Babe, with the Mother Nature - 07 plate by Moyou London and Pueen - 73 from Buffet Collection. I used the remaining two colours of the Poptastic - Peace Love & Polish and Right On, with the Mother Nature - 11 plate by Moyou London for the tropical flowers. Placing them ramdomly adjacent to the leaves. And I always finish the job with Seche Vite.

Tropical - Sponging Technic cc5 I truly enjoyed working on this one. It's so neat and so easy to create, and yet the result is surprisingly impressive. I'm a big fun of sponging. I just love the controlled effect of the colours - especially on floral designs. My base colour for this was Camelot by A-England, stamped with Alpine Snow by OPI, using Moyou-London Tropical - 03. And for the top coat I used my favourite Seche Vite. A short video tutorial will be uploaded later, or you can visit my instagram right now, if you want to see it sooner.

Psychedelic Skull cc skull I just love these nail varnishes. It's amazing how it changes colour every time I create something different. On my Instagram I put "Retro Skull" on my caption for this mani, but I googled it after posting - and realised that I should have called it "Phychedelic". Thanks to the lovely Louise (@louisenails) at Instagram, who commented on the post.

Psychedelic Skull skull The skull on my ring finger was done using advanced stamping technic. Black colour base was Camelot by A-England. (Click here to buy and click here if you are outside the UK.) The stamping plate, I used the new plates collection called Gothic XL - 03 by Moyou-London. Top coated with my usual Seche Vite. Below is a video tutorial I created via YouTube,


You're probably wondering why I covered the neon varnishes with a white varnish instead of just putting it on top of my black base colour after I finished painting the skull. I did this because I wanted the neon colour to remain vibrant. If you check my previous post above, you will notice that the black background tends to give this nail varnish a much more warm colour.


Psychedelic Skull neon skull Close up.  Top coated with  OPI Matte Top Coat. 
I just love it. Don't you?

I do hope you like all of these designs, as much as I do. I shall upload more nail art from this fabulous collection very soon. So please stay tuned. Also I'd like to say thank you to Adriana from Color Club for sending me these gorgeous samples. Love love them!.. Thank you! xo

Sunday 22 June 2014

A-England Burne - Jones Dream Collection


bjd I am very excited to share with you the Burne - Jones Dream Collection by A-england. This collection has five holographic luscious rich colours, which were beautifully crafted by the very talented - artistic founder and creator Adina Bodana. She cleverly based it on the story of ‘Sleeping Beauty’, specifically an interpretation of it by a series of paintings known as The Briar Rose by one of her favourite artists, Sir Edward Burne-Jones. Each nail varnish exhibits fascinating colour particles and when direct light hits them, it manifest exquisitely. The formula is very rich, very easy to apply and self-levelling.


BRIAR ROSE/SLEEPING BEAUTY @ld Briar Rose/Sleeping Beauty Is a pinky-red shade, that has an elusive milky hue feel to it, and when hit by a direct light, it's just beautifully complex. The formula is light, but still one coater. Shown in two light coats with no top coat.


BRIAR ROSE @ld0 Macro Shot of Briar Rose


ROSE BOWER @ld2 Rose Bower Is a vibrant red. Very alluring, even so in life itself. The formula is thicker than the other four, but still very easy to apply, and I find one coat is sufficient for full coverage. Shown in two light coats with no top coat.


ROSE BOWER @ld1 Macro Shot of Rose Bower


BRIAR WOOD aengland8 Briar Wood A very rich burgundy, that is bursting with fine holographic particles, superb when natural light hits them. And depending on which angle you look at it, the colour deepens. And as per usual with a-england, the formula is excellent. Shown in two light coats with no top coat.


BRIAR WOOD aengland7 Macro Shot of Briar Wood


SLEEPING PALACE @LD3 Sleeping Palace The colour is very much similar to aubergine with a hints of copper on the undertones, that impregnated with radiant fine particles, that come lucid in contact to direct sun light. The formula again is rich and very easy to work with. Shown in two light coats with no top coat.


SLEEPING PALACE @LD4 Macro shot of Sleeping Palace


FATED PRINCE aeng1 Fated Prince This shade is seemingly sheer with a dark grey base and olive undertone. The only varnish of the four, that I find needed another coat, but don't be despair, it's totally opaque by second coat. The striking scattered holographic in this one appears to be more intense, dazzling when hit by direct light. Shown in two light coats with no top coat.


FATED PRINCE aeng2 Macro Shot of Fated Prince


A-England Burne - Jones Dream Collection bjd0

Each colour in this collection is a "must have" in my opinion. They are all luxurious and very elegant. You can easily get away applying just one coat and they also work brilliantly for stamping.

And at the moment, if you are residing in UK, Briar Wood is only £6 for the month of June. So better get your skates on! To head to their website click here