Fun Brush Technic
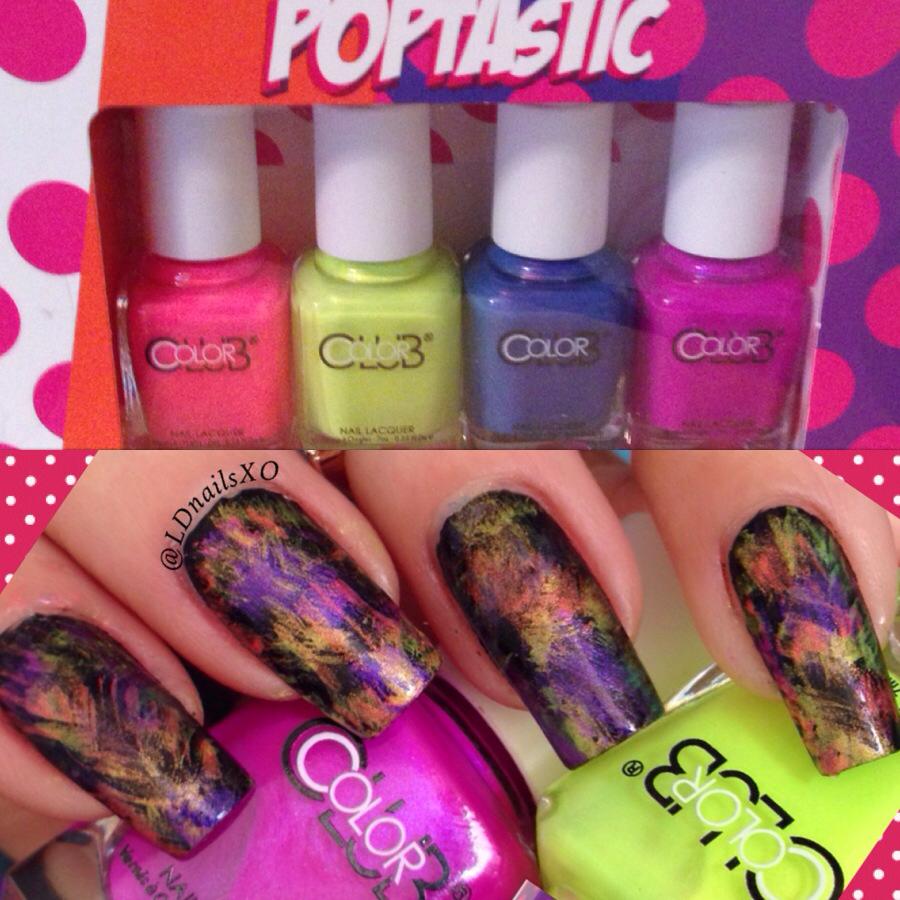 When I first set eyes on these nail varnishes, I didn't think I'd like them, but they are actually superb. Here is my first experiment, and I'm so please how they turned out - so I'm sharing them with you all.
Started off with the one coat of black nail varnish as a base. Let it dry, I then randomly fan brushed the four colours one at a time. From left, Peace Love & Polish, Not So Mellow Yellow, Bell Bottom Babe and Right On. And as always, I top coated with Seche Vite to finish the look.
When I first set eyes on these nail varnishes, I didn't think I'd like them, but they are actually superb. Here is my first experiment, and I'm so please how they turned out - so I'm sharing them with you all.
Started off with the one coat of black nail varnish as a base. Let it dry, I then randomly fan brushed the four colours one at a time. From left, Peace Love & Polish, Not So Mellow Yellow, Bell Bottom Babe and Right On. And as always, I top coated with Seche Vite to finish the look.
Fun Brush Technic

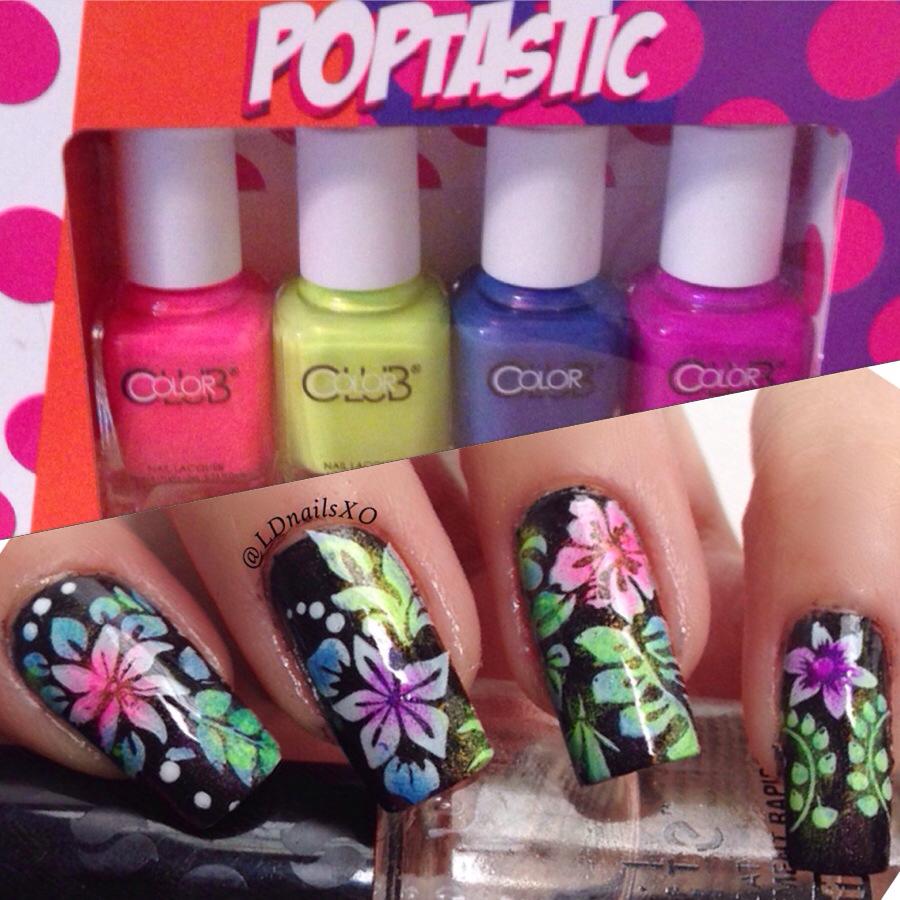
Floral Neon
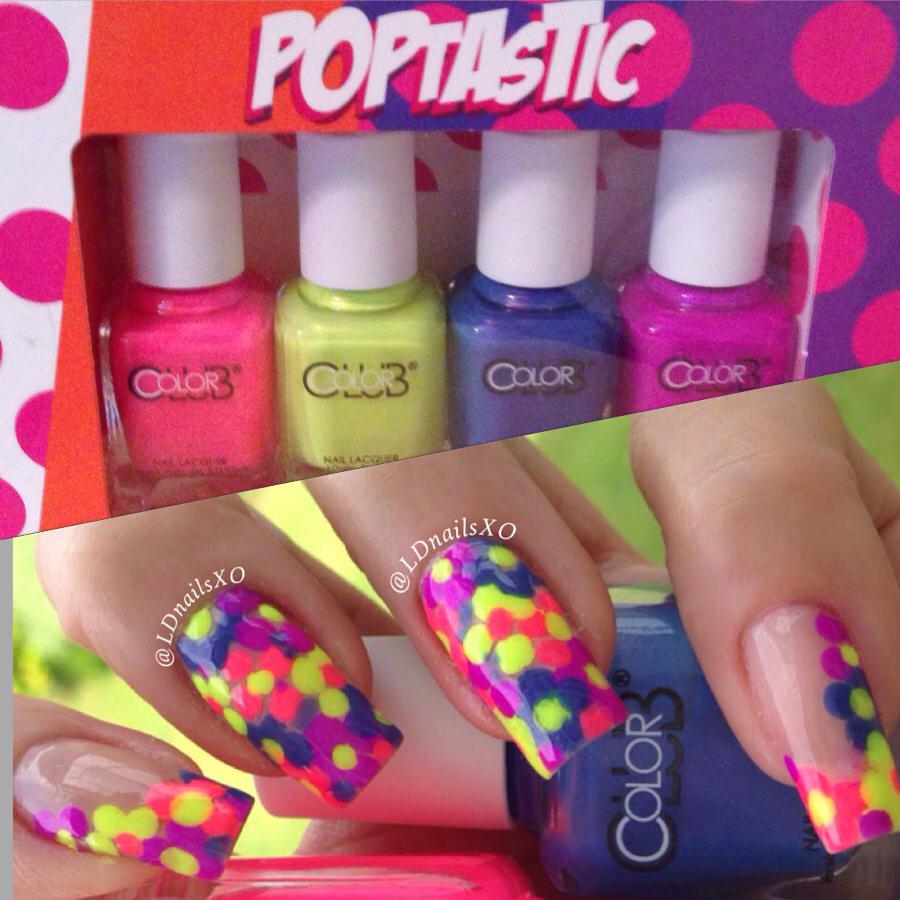 This one is very simple and very easy. All you need is a dotting tool and the Poptastic Collection. Nothing can be more simple than that, right?
Floral Neon
 Applied one coat of clear nail varnish. Then with your dotting tool create little flowers alternating the colours. When you're happy with your flowers, top coat it. Now, I sometimes like to double my top coat. And dotting design is one of them, because it gives it a more fine smooth finish.
Tropical - Individual Satmping
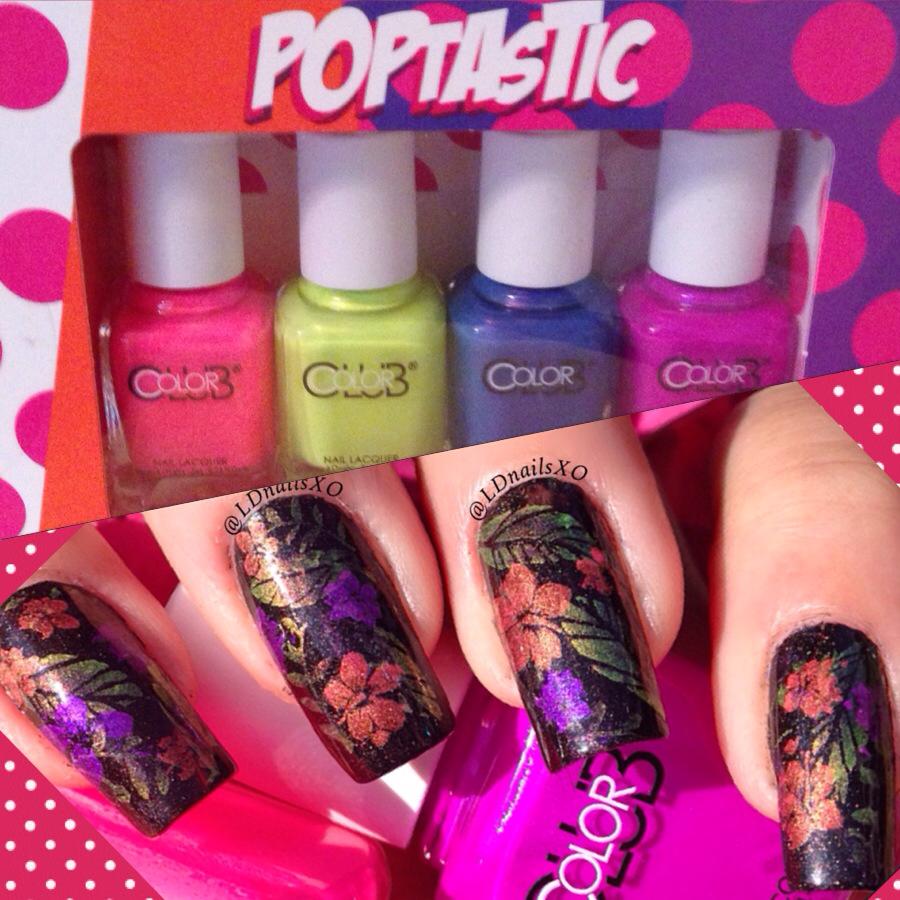 I'm very pleased how this design turned out. It's almost three - dimensional to look at.
Tropical
Tropical
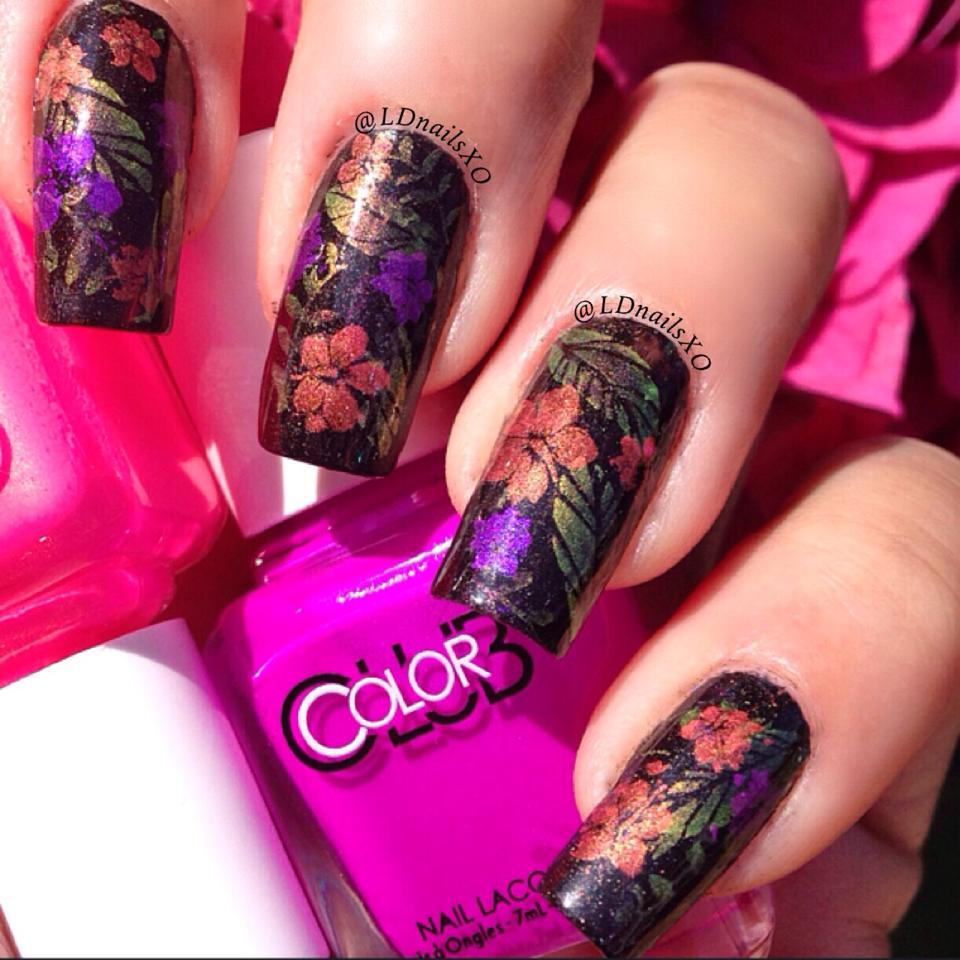 After applying and allowing to dry the essie Base Coat, I applied one coat of a-england Bridal Veil. Once dry, I begun by stamping the leaves on different directions, by using the two colour together of the Color Club Poptastic - Not So Mellow Yellow and Bell Bottom Babe, with the Mother Nature - 07 plate by Moyou London and Pueen - 73 from Buffet Collection. I used the remaining two colours of the Poptastic - Peace Love & Polish and Right On, with the Mother Nature - 11 plate by Moyou London for the tropical flowers. Placing them ramdomly adjacent to the leaves. And I always finish the job with Seche Vite.
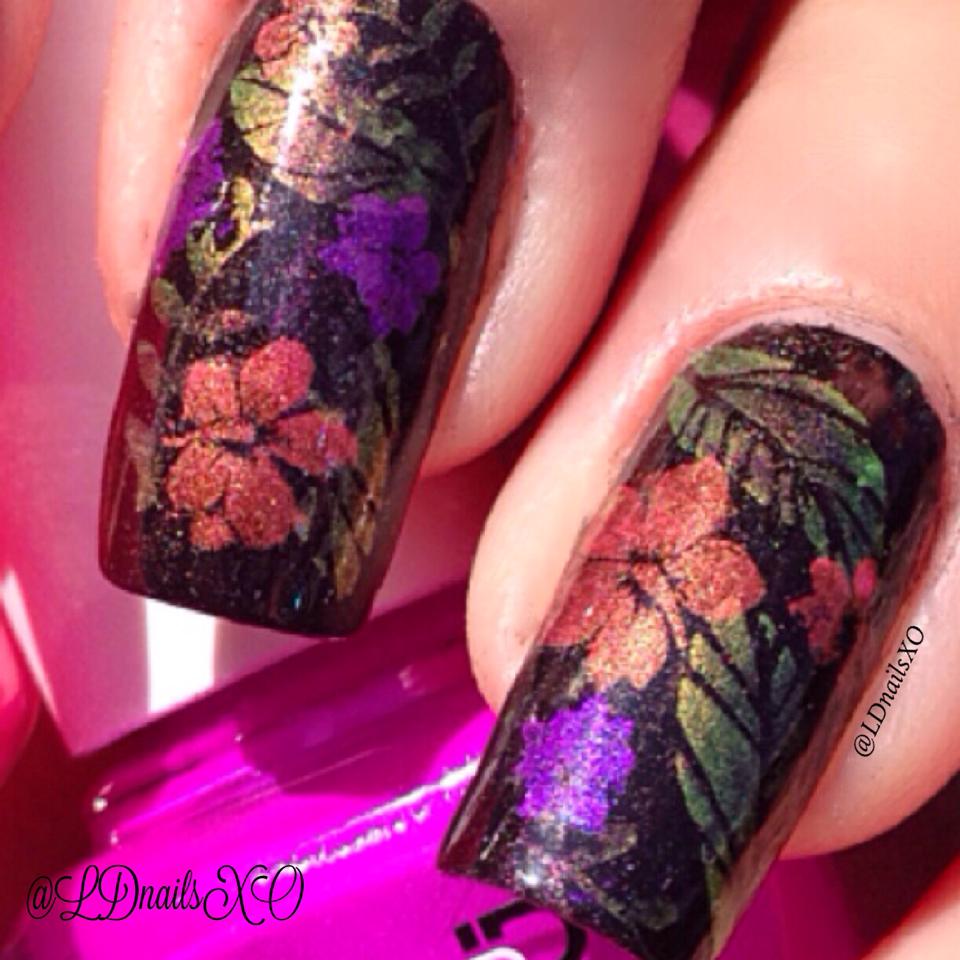
Tropical - Sponging Technic
 I truly enjoyed working on this one. It's so neat and so easy to create, and yet the result is surprisingly impressive. I'm a big fun of sponging. I just love the controlled effect of the colours - especially on floral designs. My base colour for this was Camelot by A-England, stamped with Alpine Snow by OPI, using Moyou-London Tropical - 03. And for the top coat I used my favourite Seche Vite. A short video tutorial will be uploaded later, or you can visit my instagram right now, if you want to see it sooner.
Psychedelic Skull
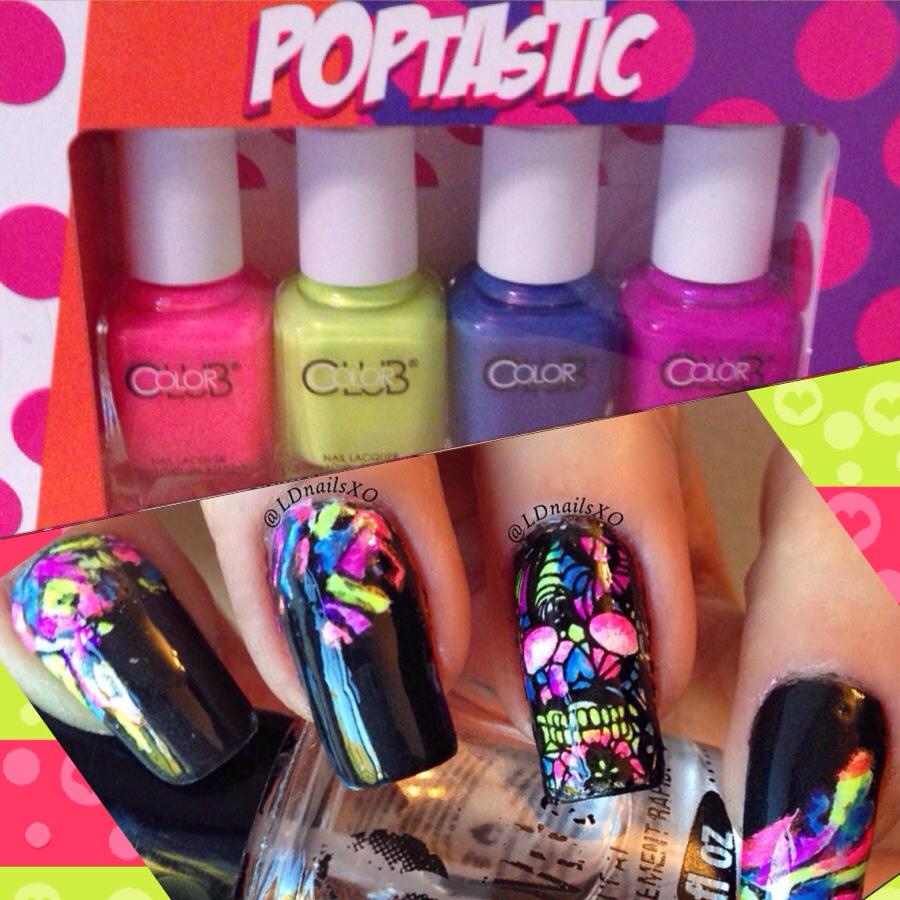 I just love these nail varnishes. It's amazing how it changes colour every time I create something different. On my Instagram I put "Retro Skull" on my caption for this mani, but I googled it after posting - and realised that I should have called it "Phychedelic". Thanks to the lovely Louise (@louisenails) at Instagram, who commented on the post.
Psychedelic Skull
 The skull on my ring finger was done using advanced stamping technic. Black colour base was Camelot by A-England. (Click here to buy and click here if you are outside the UK.) The stamping plate, I used the new plates collection called Gothic XL - 03 by Moyou-London. Top coated with my usual Seche Vite. Below is a video tutorial I created via YouTube,
You're probably wondering why I covered the neon varnishes with a white varnish instead of just putting it on top of my black base colour after I finished painting the skull. I did this because I wanted the neon colour to remain vibrant. If you check my previous post above, you will notice that the black background tends to give this nail varnish a much more warm colour.
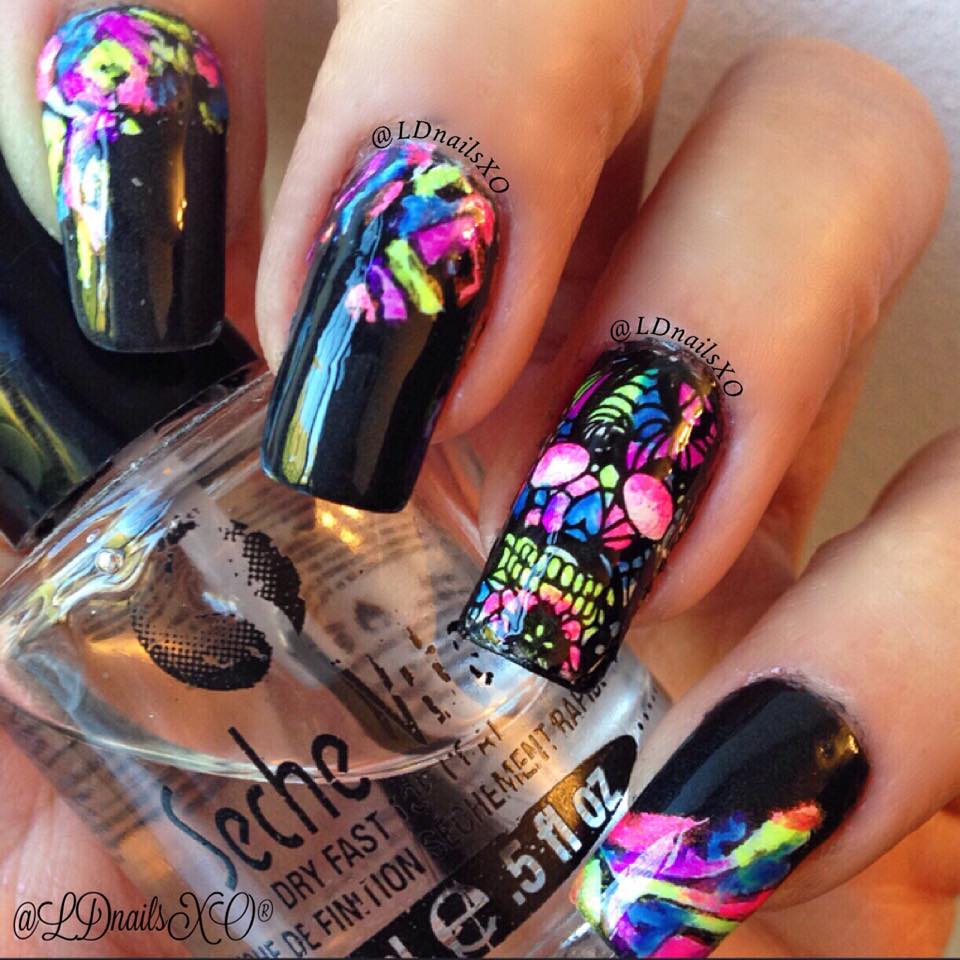
Psychedelic Skull
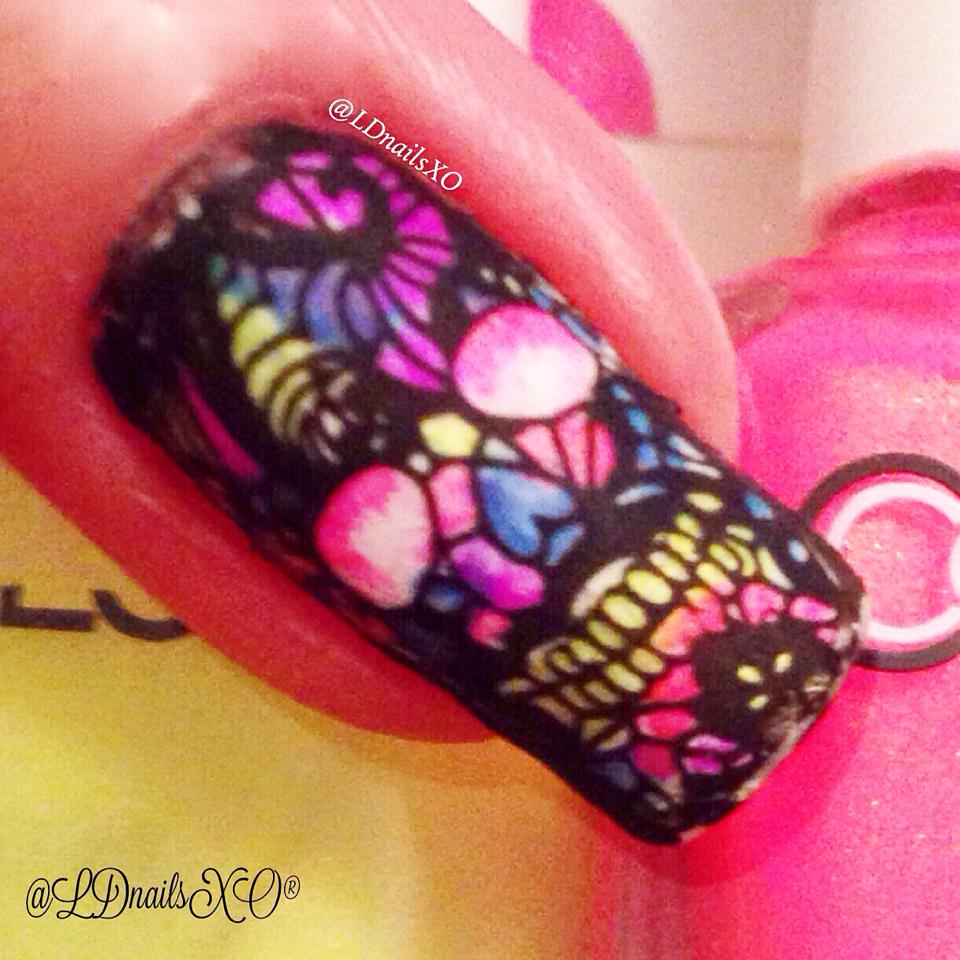 Close up. Top coated with OPI Matte Top Coat.
 I just love it. Don't you?
I do hope you like all of these designs, as much as I do. I shall upload more nail art from this fabulous collection very soon. So please stay tuned. Also I'd like to say thank you to Adriana from Color Club for sending me these gorgeous samples. Love love them!.. Thank you! xo


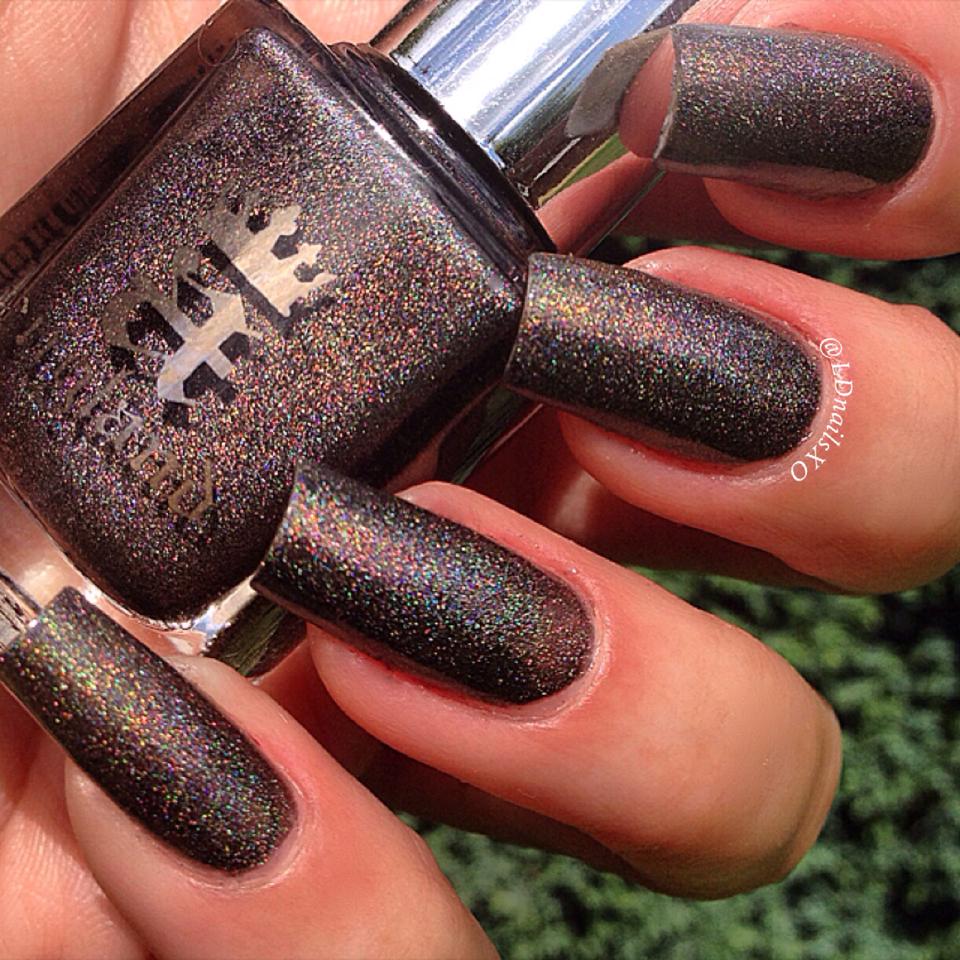
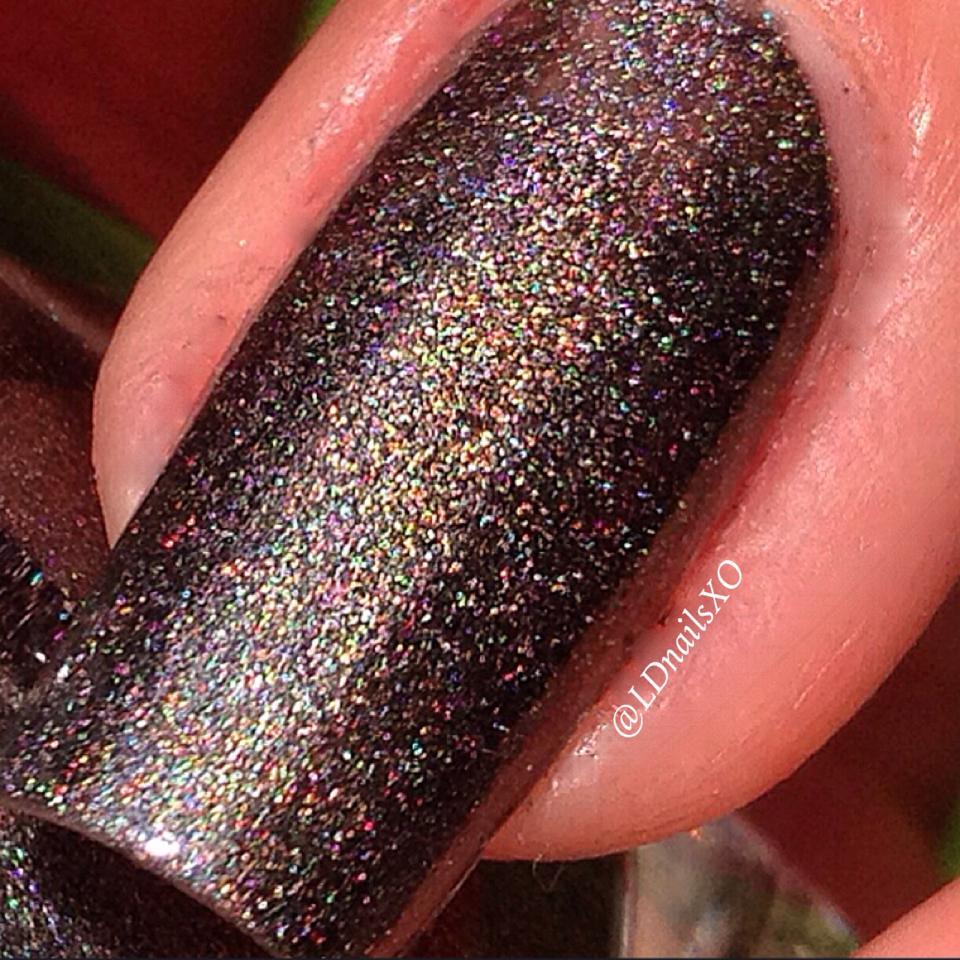
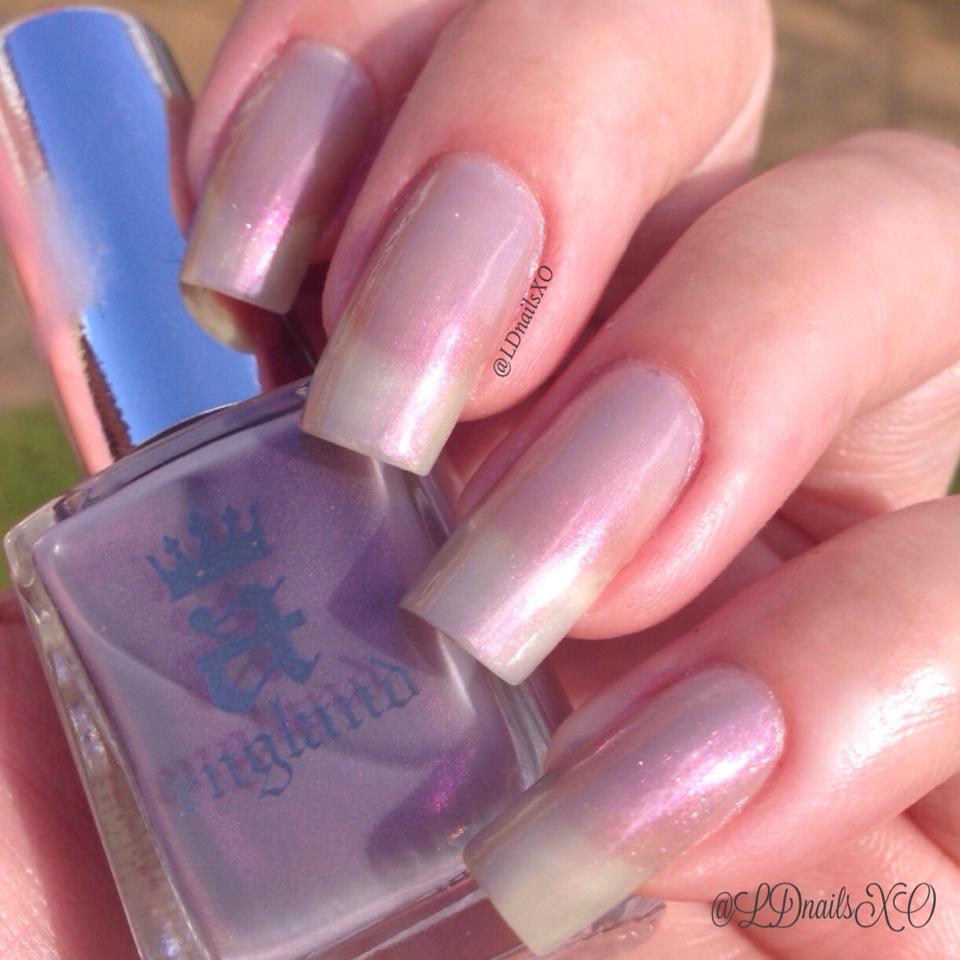
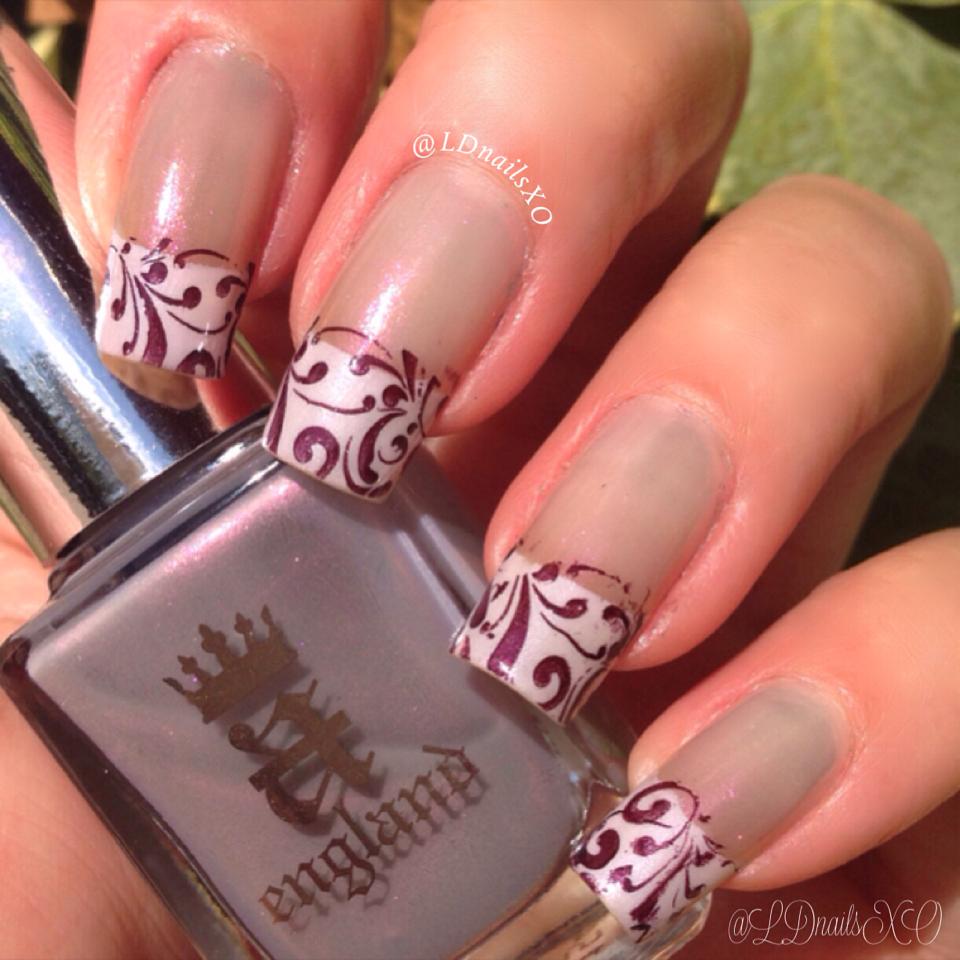
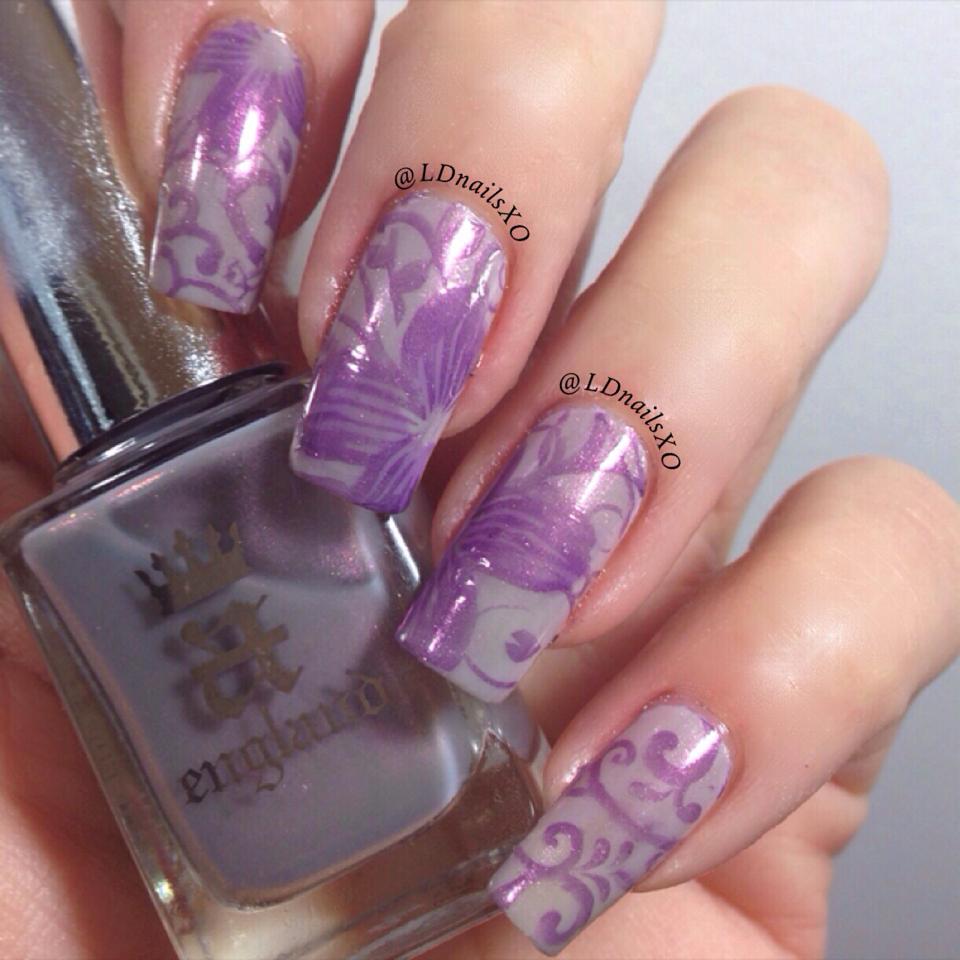
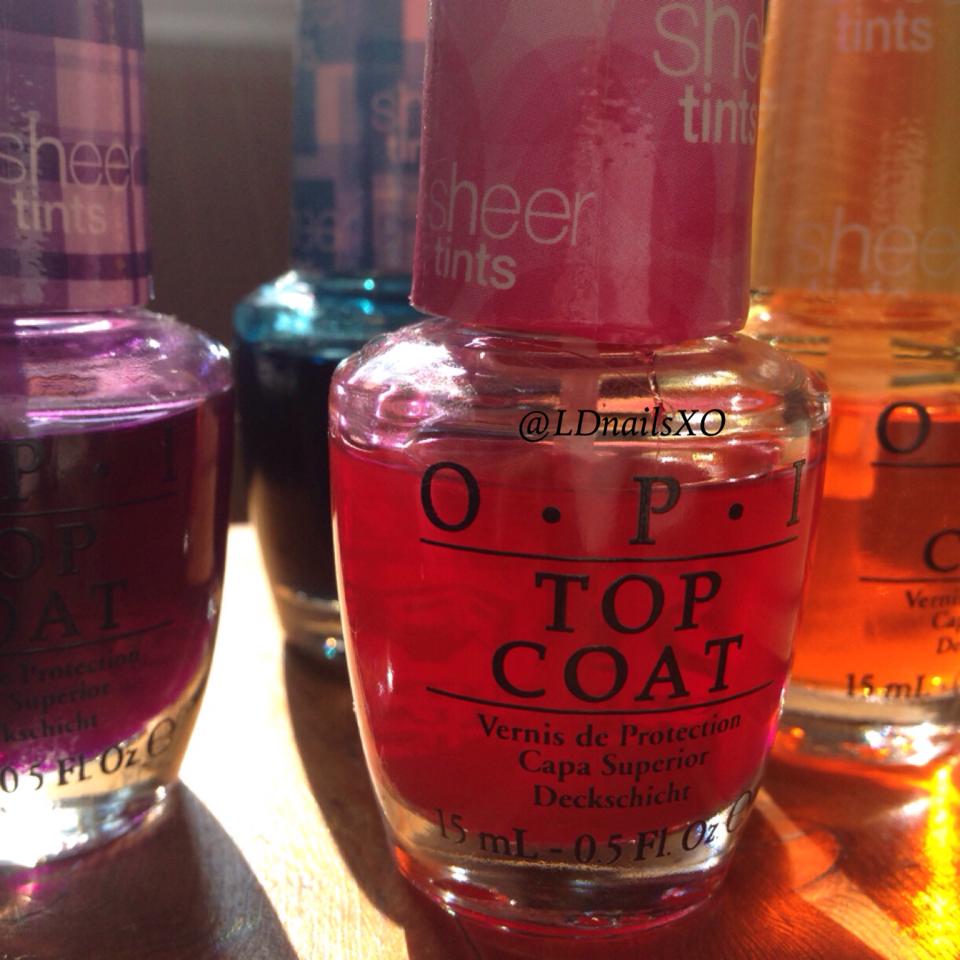


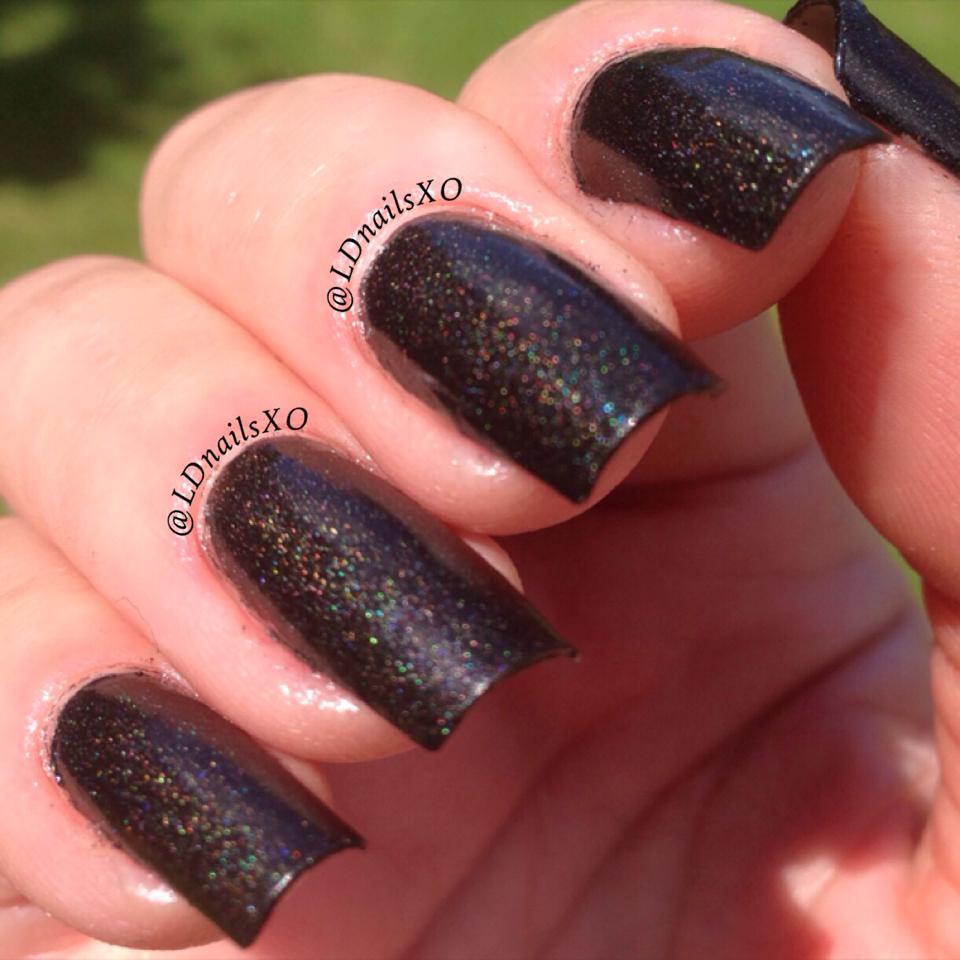
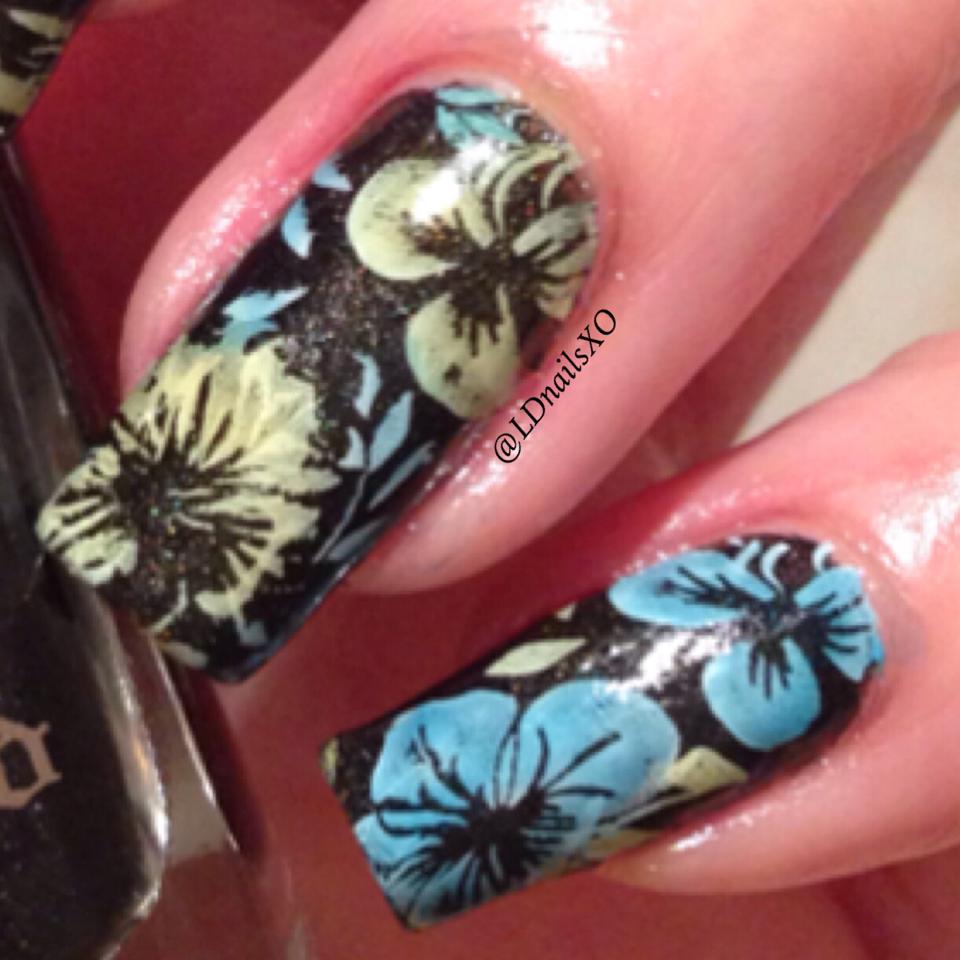
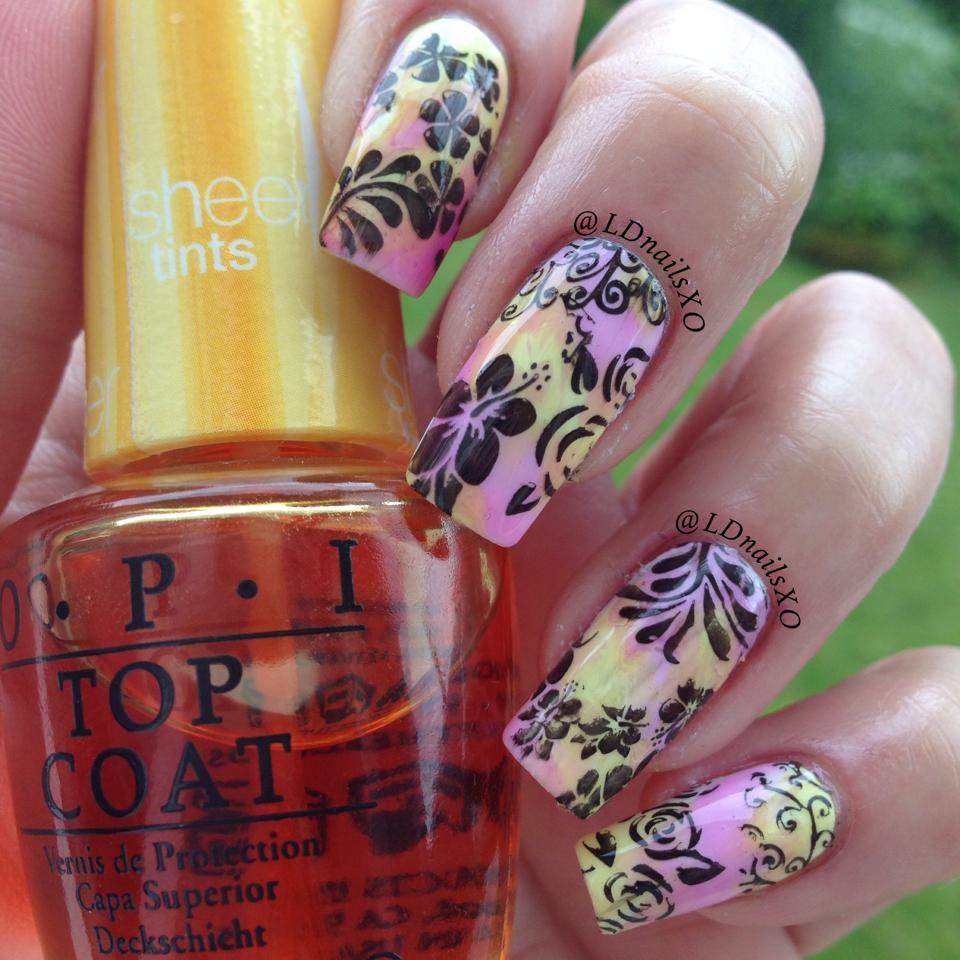
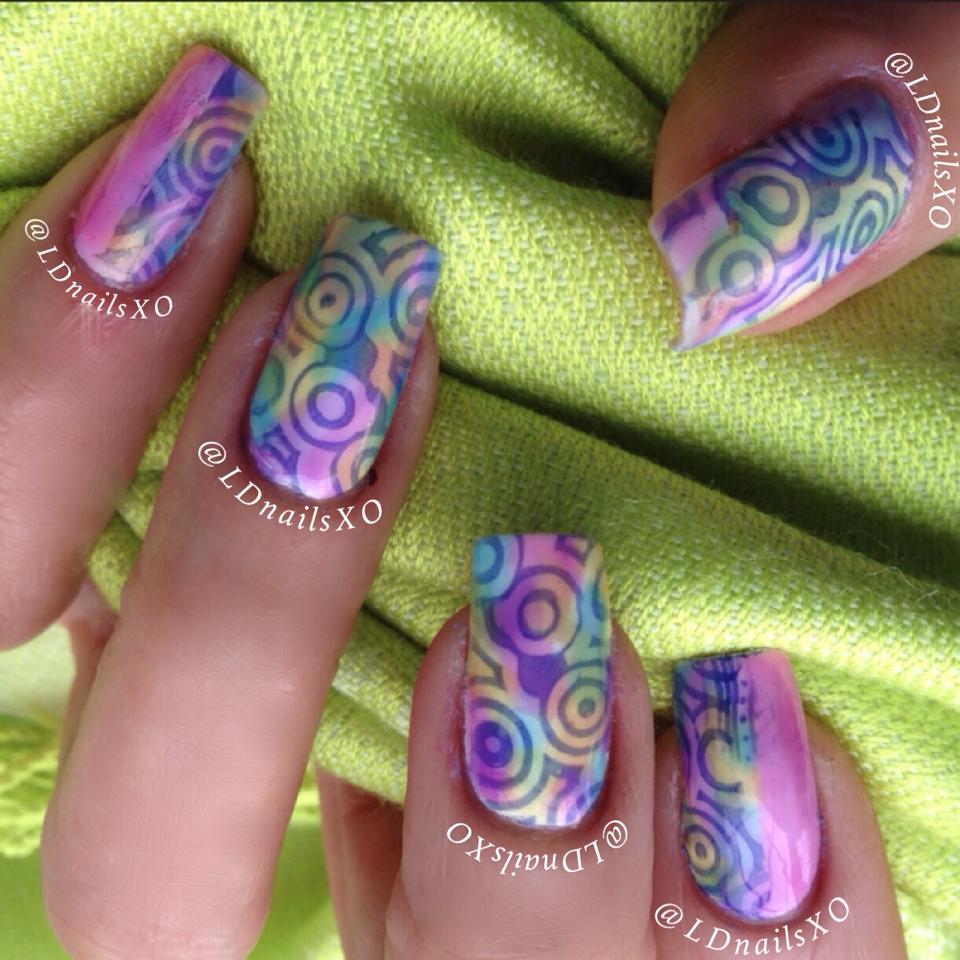

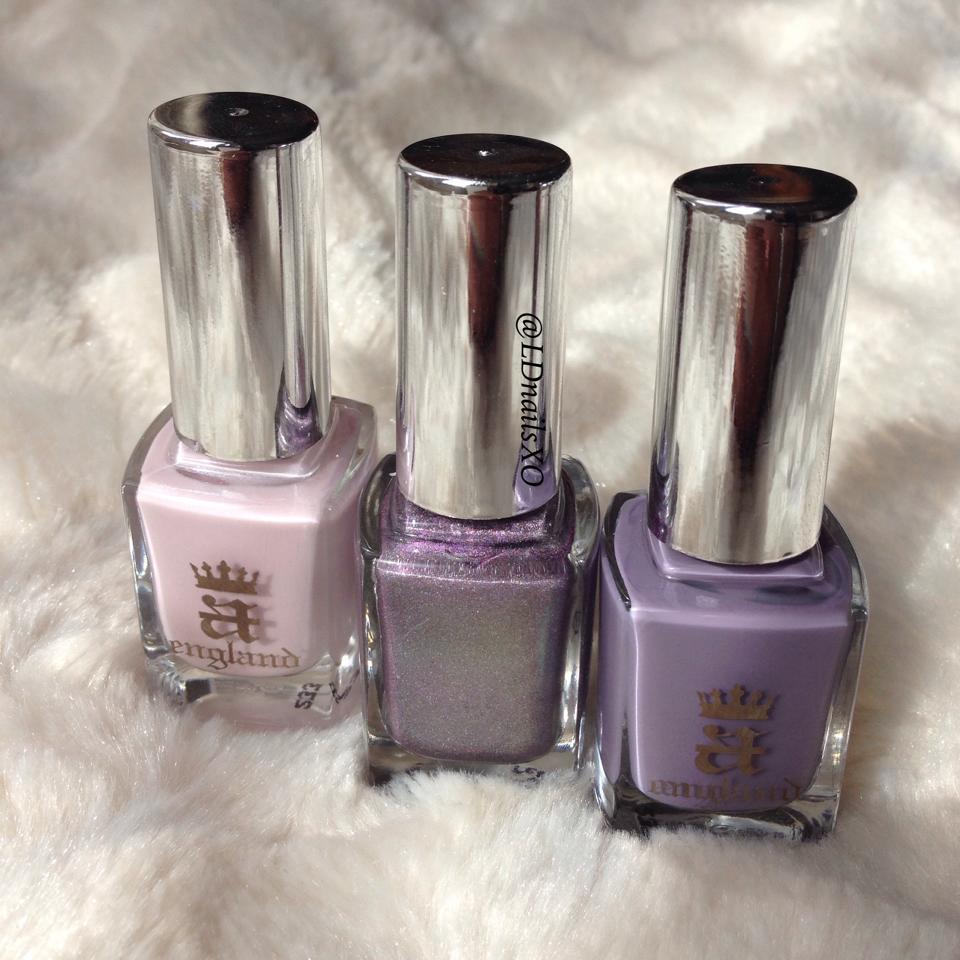

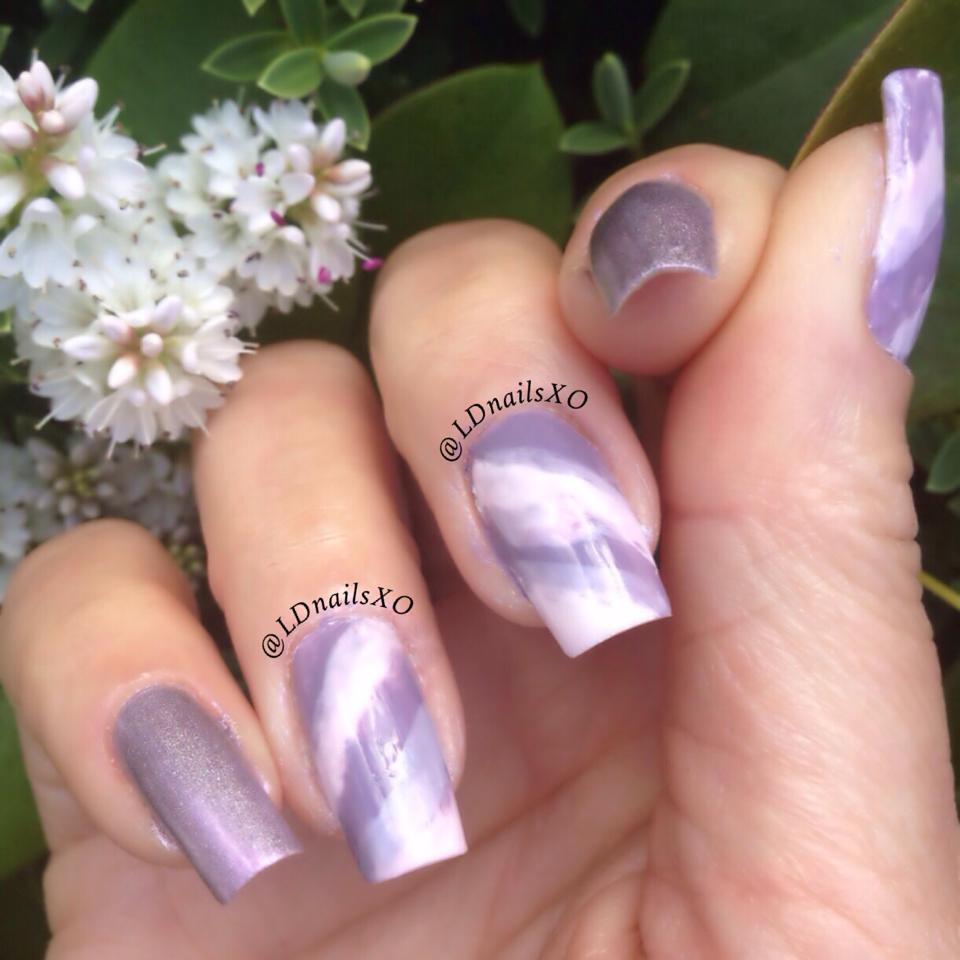

 Photo with the kimono provided by my friend.