OPI Sheer Tints
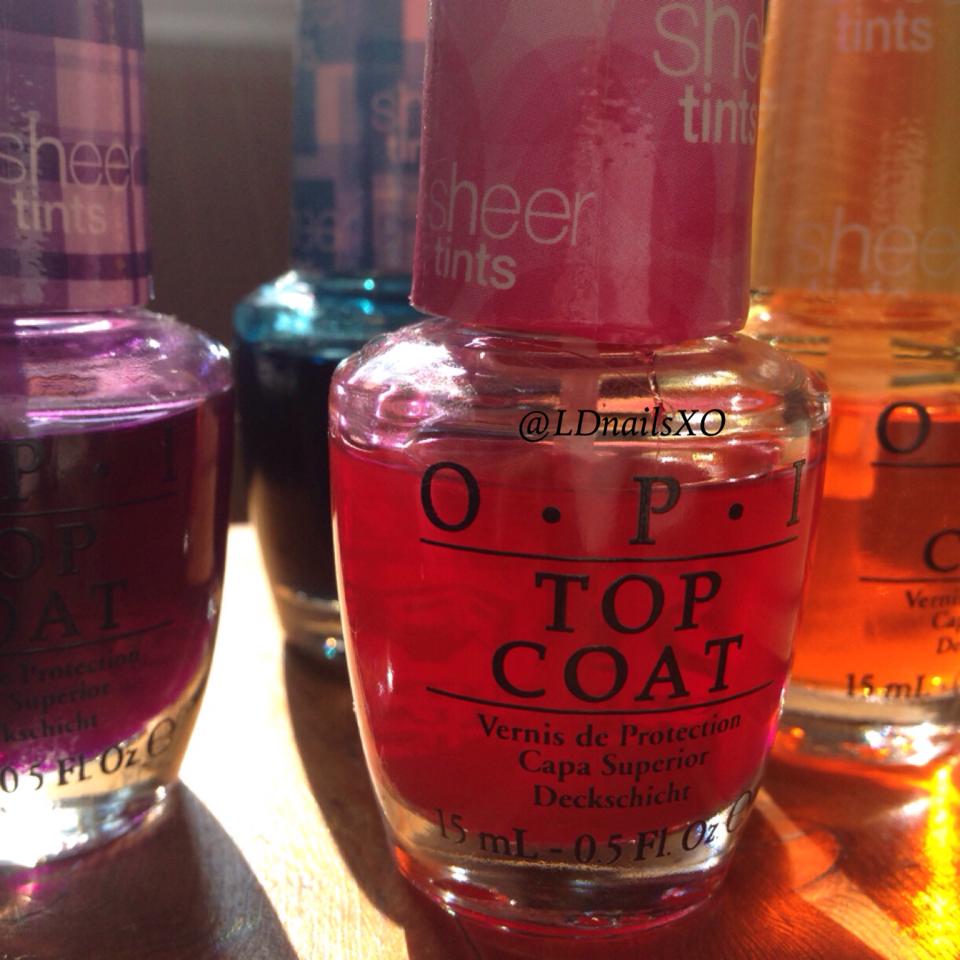 You will say I'm a bit obsessed with OPI Sheer Tints. I will use them for nail art, day-in day-out. Despite of some negative reviews I read about these nail varnishes, I gone ahead and bought the lot. And love them. Yes, they are on a thick side, but they work brilliantly for nail art. If your intentions is to use them for art (like me.), you'll be fine, because the density of the varnish is not playable for normal application, they go very sticky, very quickly. Down below are some of the design techniques - you can do with these tints.
Buffet Tints
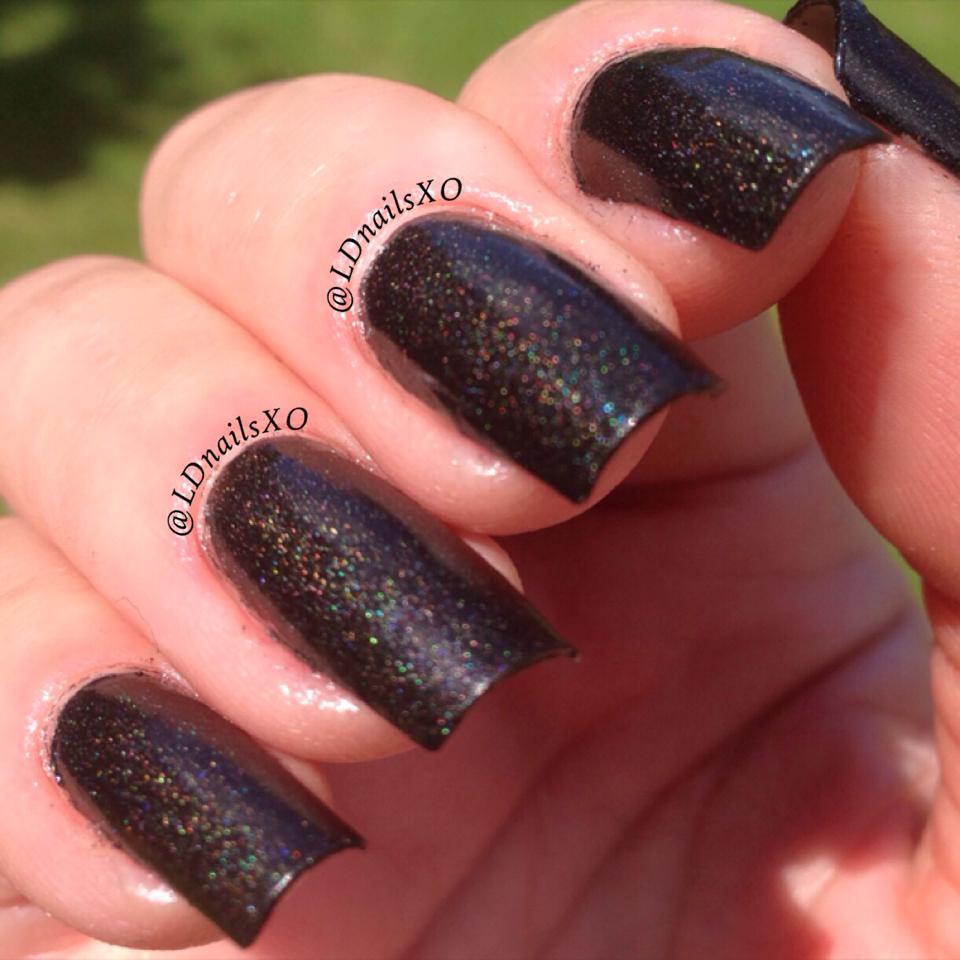
 Quick amd simple tinting technic, but look complicated. Start off with one coat of black nail varnish as a base colour, on this occasion I used a-england Camelot. I then stamped it with Pueen plate - 66 from their Buffet Collection, using OPI Alpine Snow. Picking as much pattern as I could from the plate, I stamped it on my completely dried black painted nails. I then tints each designs of the stamping with different colours. I choose to go for the colours I Can Teal You Like Me, I Never Amberrassed and Don't Violet Me Down. And as always I finished with Seche Vite top coat, after the tints are dried.
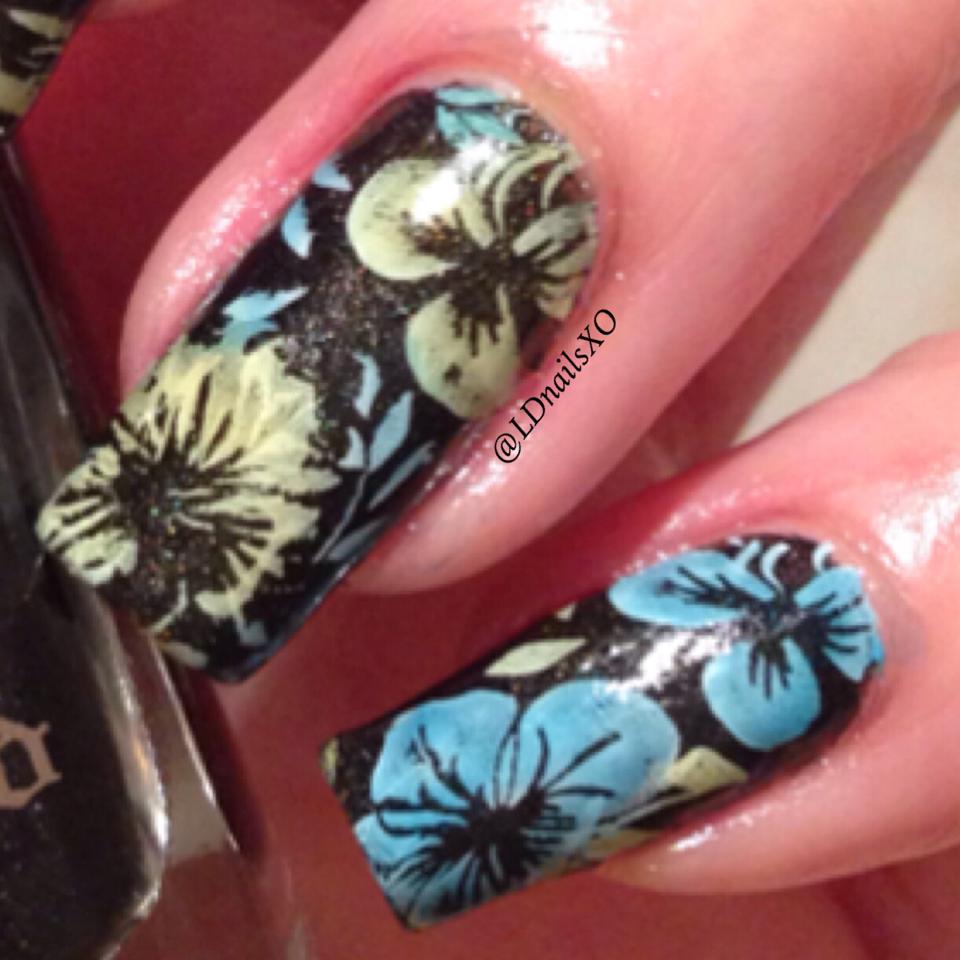
Floral Tints
 For this design, I used colours from the OPI Sheer Tints Collection, which comes in four great shades of colours. When used together, it will create a perfect rainbow effect.
After applying 1 coat of a-england Bridal Veil (photo shown below), I let it dry and stamp it with Pueen plate - 72 (from Buffet Collection), using a white OPI Alpine Snow. I then tinted the flowers and leaves with the OPI Sheer Tints colour blue (I Can Teal You Like Me) and yellow (I'm Never Embarrassed). And finally, finish off with Seche Vitte.
For this design, I used colours from the OPI Sheer Tints Collection, which comes in four great shades of colours. When used together, it will create a perfect rainbow effect.
After applying 1 coat of a-england Bridal Veil (photo shown below), I let it dry and stamp it with Pueen plate - 72 (from Buffet Collection), using a white OPI Alpine Snow. I then tinted the flowers and leaves with the OPI Sheer Tints colour blue (I Can Teal You Like Me) and yellow (I'm Never Embarrassed). And finally, finish off with Seche Vitte.
Bridal Veil
 The stunning a-england Bridal Veil has beauty of it's own.
 The close up. Love the hues of Bridal Veil gleaming through the gaps.
Sheer Tints Background
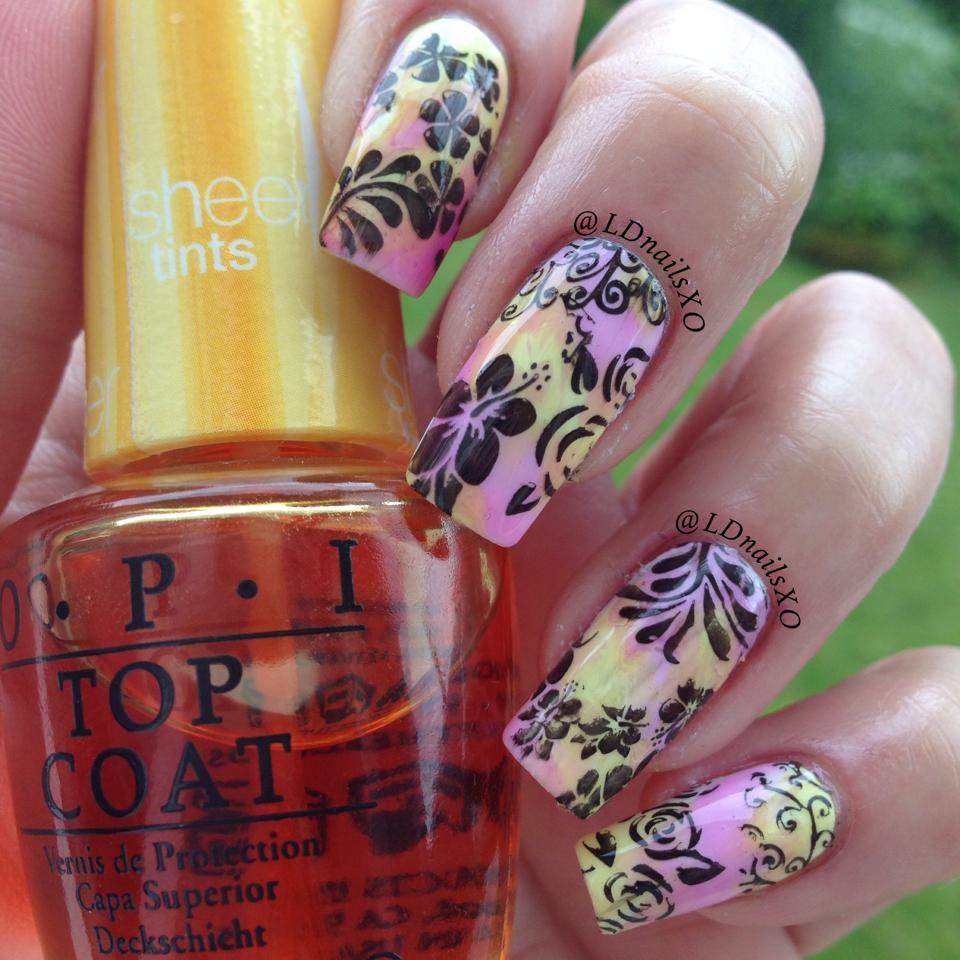 With this design, I started with my usual base coat of OPI Lay Down That Base, followed by one coat of OPI Alpine Snow. I find one coat is enough for nail art. You can apply two coats if prefer. When dried, start applying the sheer tints randomly, covering all the white base. Then give it a good drying time, before start stamping. Bear in mind that OPI Sheer Tints takes a little bit longer to dry, than normal polish. And as always I top coated with Seche Vite. I used Moyou London Mother Nature - 11 for stamping.
70's Inspired Tints
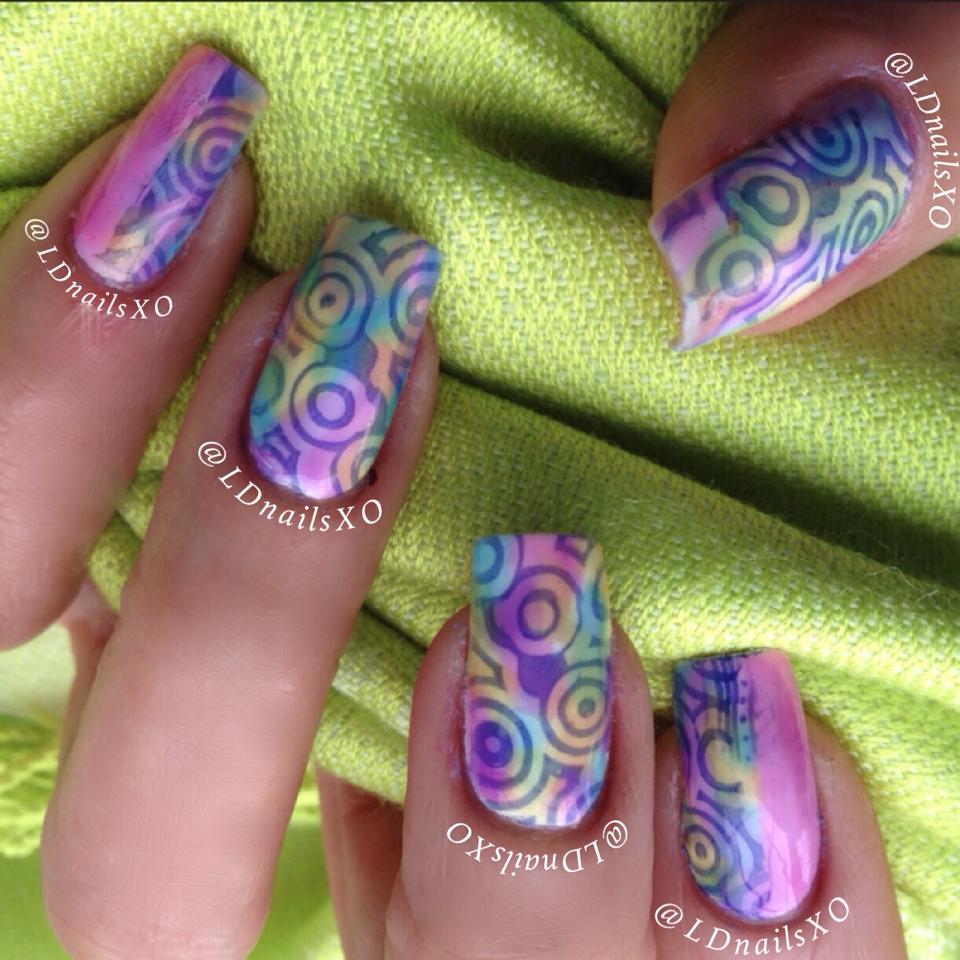 Colourful dyed effect was big on the 70's. So, I was inspired by that when I thought of creating this design. I used OPI Alpine Snow for my base colour, followed by randomly applying the four colours of OPI Sheer Tints on top of my dried white base. Just waited for the tints to dry completely, and stamped it with the Travellers - Back to the 70's Plate by Moyou London. And as always finishing with a coat of Seche Vite.
Zebra Print On Tints
 This is just one of many of my favourite designs that I done with OPI Sheer Tints. The colours of the tints are just showing off on white base, which was one coat of OPI Alpine Snow (Did I mention it's my favourite White?). I just applied the tints on vertical lines, keeping the colours in order, but starting on different shade on each nails each time - just to make it interesting to look at. Then get yourself a cup of coffee or tea, relax and let it dry completely. As I mentioned before tints takes a little bit longer than usual to dry. Once dried, I stamped it with The Pro - 04 by Moyou London stamping plate, using OPI Vant To Bite My Neck?, which in my opinion complemented the tints so very well. Don't you think?.
If by any chance you decided to recreate one of my designs, please tag me on my http://instagram.com/ldnailsxo or facebook account . I would love to see them. Follows and comments will always be appreciated. Thanks y'all! xx
No comments:
Post a Comment